

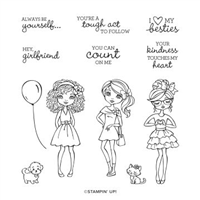
Who doesn’t love a rainbow?! I thought a rainbow of girls would be too fun, and it is!!! I created some rainbow Hey Girlfriends slimline cards and shared them in my weekly Facebook Live yesterday!! I hope you enjoy them!!
If you missed my previous post featuring the Hey Girlfriend stamp set, you can see those cards here.
I have a fun video for you today!! Scroll to the bottom of this post to watch it!


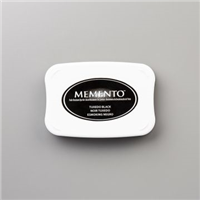
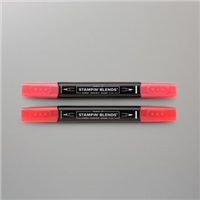
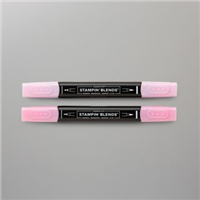
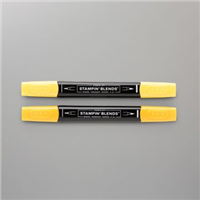
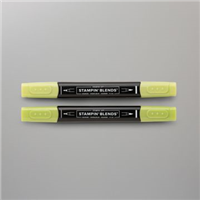
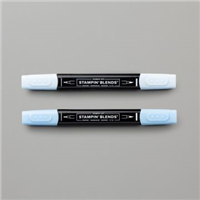
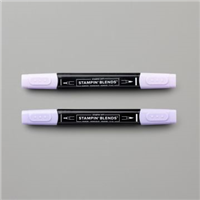
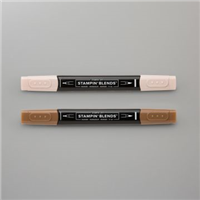
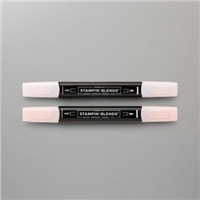
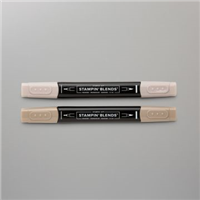
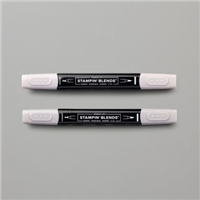
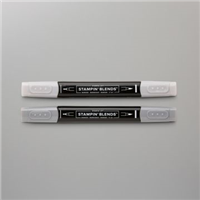
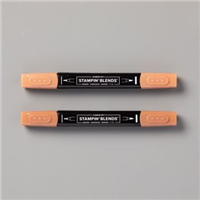
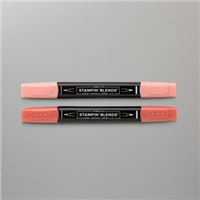
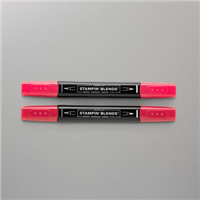
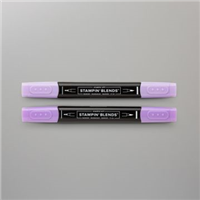
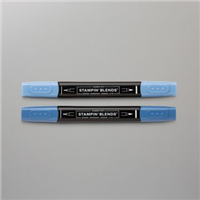
I mounted the 3 girls from the Hey Girlfriend set on one block, inked it in Memento Black ink and stamped it twice on my Thick Basic White Cardstock. Then I selected 6 pairs of Stampin’ Blends markers for my rainbow!

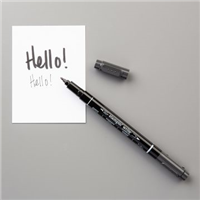
After finishing my slimline card, I thought it needed just one more small touch, so I used my Basic Black Stampin’ Write marker to draw a border around the perimeter. I think it was the perfect touch!

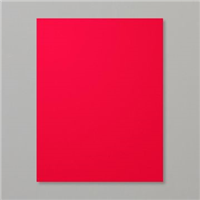
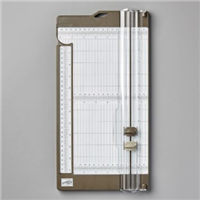
Slimline Card Tip: first measure your envelope, and subtract about 1/4″ and use that for your cardstock size. My Poppy Parade card base measures 8″ x 9″. The 8″ side is scored at 4″ (in half). The white panel is 3-3/4″ x 8-3/4″. You can of course adjust that to any size to fit any envelope you have.
Another Rainbow of Girlfriends Slimline card idea!
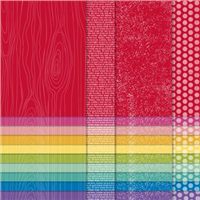
After I posted the paper piecing Hey Girlfriend card, I received so many kind emails and comments so I decided why not create a rainbow card with paper piecing!! I used the Brights 6×6 Paper Stack and paper piecing, to create this Girlfriends sllmline card!! Watch the video below to get all the details!!

How to do Paper Piecing:
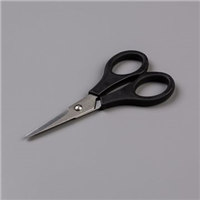
Stamp image onto patterned paper and fussy cut with Paper Snips. Color skin and hair with Stampin’ Blends on card, then add paper dress with liquid glue.

Here is a comparison with the 2 Rainbow Slimline cards! I hope you love them both as much as I do!!!

Watch the Video!
If you are reading this in an email, please click HERE to watch the video on my blog or you can watch it on my YouTube Channel.
Want to leave a comment? Please CLICK HERE.

Watch my helpful online ordering video HERE with tips for shopping online.


Want to leave a comment? Please CLICK HERE.

Shop Online Anytime and Earn FREE STAMPS
SHOP and SAVE: Last Chance List
Join my Luv 2 Stamp Team of demonstrators – click for info
All my Favorites on Amazon - as an Amazon Associate I earn from qualifying purchases.
Sign Up for my Customer Newsletter
MY FREE VIDEOS tutorials


Hi Patty, my tip for around the hands with the paper blends is to go back in with the coordinating Blends and fill in the white area.