
Yesterday I posted a VIDEO on my blog with a tutorial and tips for using the wonderful new Circle Scissors from Stampin' Up! I hope you enjoyed it! By the number of comments and emails, I'd say you liked it! 🙂
I wanted to follow up with MORE INFO about the CIRCLE SISSORS and to show you the sample I made with the scallop embellishment in the video.
More Circle Scissor info:
- Yes, the measurements on the Circle Scissors ARE in inches AND cm … I was using the cm as my guide because there are more cm markings than inch markings and it was easier to find the #4 or #5 (etc.) in cm than to try to find exactly where 3-3/4" or 4-5/8" was (for example).
- By turning the dial, it allows you to cut ANY size circle up to 6" .. it is not like the Colluzle where you had to put the blade in a groove and were limited to certain sizes.. you can adjust this one to any tiny fraction of an inch.. like every 1/32nd of an inch probably!
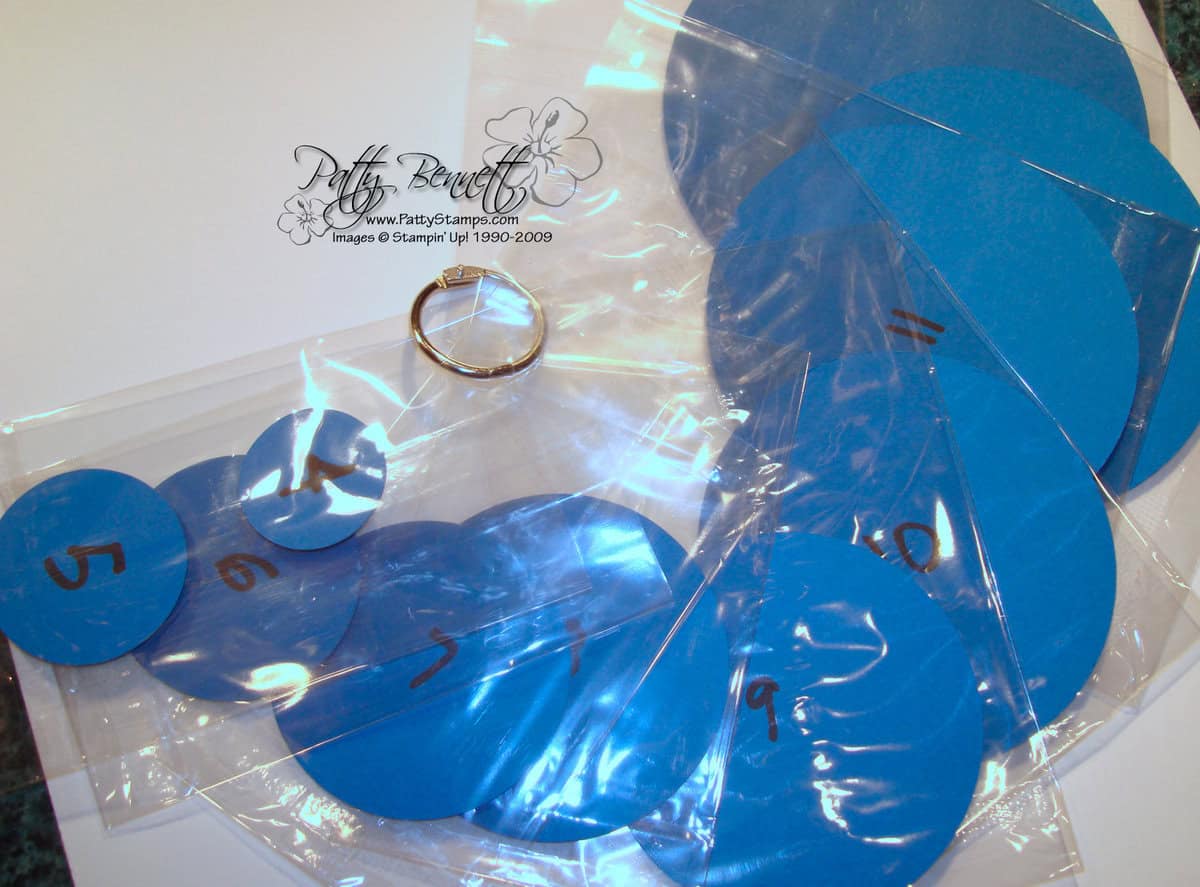
- Many of you asked how I stored the loose circles I cut… here is what I did:

each circle I cut is in a cello bag, bound with a binder clip to keep them all together.. this way I can lay the circle on top of anything and see if it's the size I want. See the VIDEO for more info on this.
And finally.. if you read this far.. here is the card I made with the scallop embellishment from the video:

Have a fabulous weekend!

Thanks for all the tips, Patty! I hope to have time to work with mine today!
Gee, this looks like a tool I really “need”! LOL!
Thanks for all the great ideas – love your videos!