
This information has been requested over and over the past few weeks so I thought I'd repost it here. Enjoy! this is such a COOOOOL technique!
ALSO see THIS POST for a similar Christmas Tree Embossing Folder card.
AND see THIS POST for one additional way you can achieve this look by cutting your embossing folder.
Do you know how to get this lovely blank oval area using the Stampin' Up! Textured Impressions Embossing Folders???

Normally when you use one of the Impressions Folders you get an all over textured impression like this:

But I got a cool swap at Convention from Betty Kincannon who learned this technique from this blog here and here. I wanted to try this with our Stampin' Up! Impressions folders, and I knew you'd want to see a tutorial, so I modified the instructions to use my Stampin' Up! products and I eliminated a few of her steps to suit my needs…. HERE YOU GO…


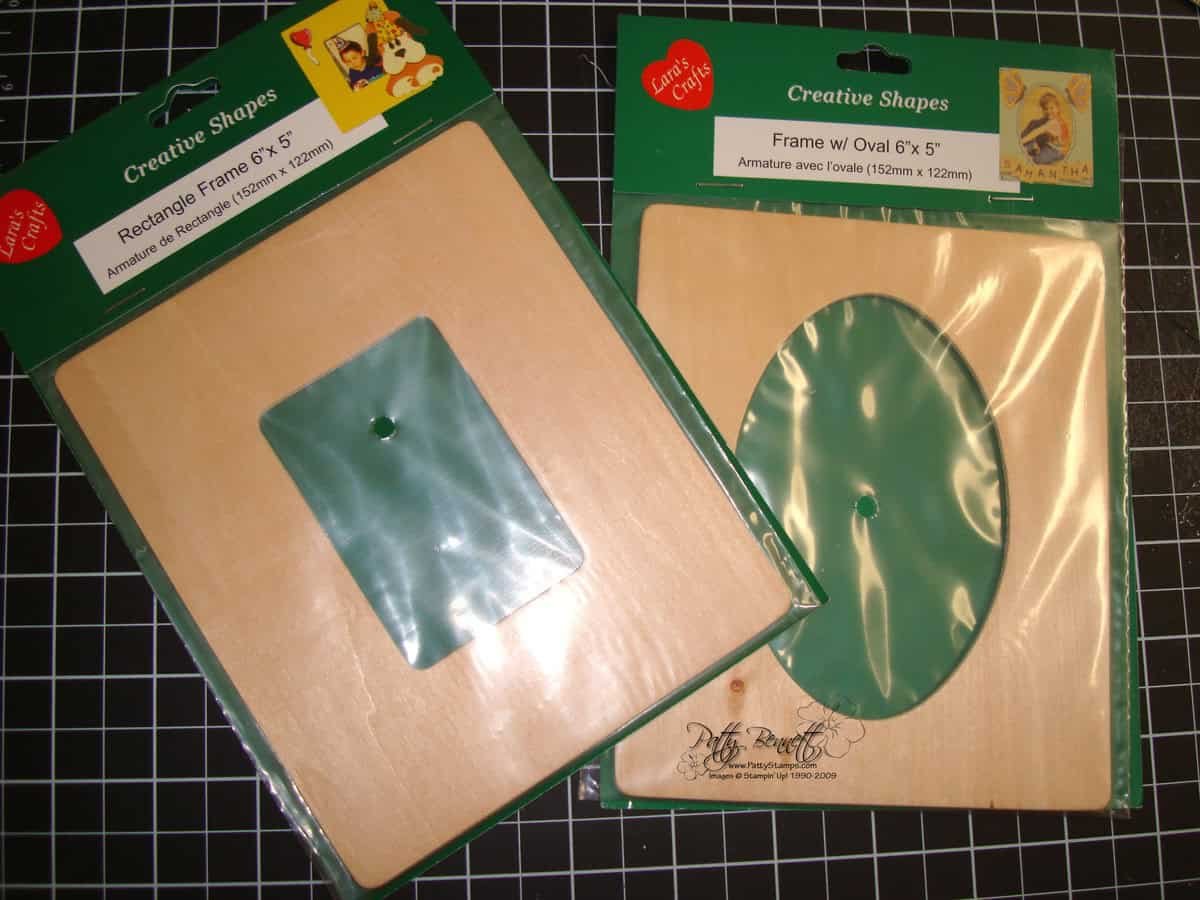
(wood template info at bottom of post)


Then you get THIS!!

Supplies:

I used these frames from a national craft store chain.
UPDATE…. you can also make your own template/frame! Use our Stampin' Up! Chipboard sheets, and any Big Shot die, and cut an opening in a rectangular piece of chipboard and make your own frame.
This will work beautifully with the following Textured Impressions Embossing Folders:
- Petals A Plenty, mini catalog pg 21, #116824, $7.95
- Finial Press, catalog pg 195, #115963, $7.95
Don't miss the ONLINE EXTRAVAGANZA SALE THIS WEEK!!

FREE SHIPPING on orders of $150 or more
shop ONLINE HERE !!!!
Order Stampin' Up! Supplies online anytime! CLICK HERE TO PLACE YOUR ORDER.


This is a great idea! Thanks so much for sharing! I don’t usually go to the craft stores anymore because I find that SU quality is way better, but this will give me something to use the 40% coupons on that isn’t going to be an inferior product that will just annoy me when I have to go order it from SU later. 🙂
Wow! I somehow missed how EASILY you can achieve this amazing look!! Thank you for sharing!! Happy holidays 🙂
Thank you for sharing your ways of accomplishing this lovely effect — and for having them all in one post!
Excellent as usual. You are amazing and inspiring!
Thank you for the instructions on this is was easier then I thought, you are GEM!