Please enjoy the fun Myths & Magic Castle Video Tutorial today!
I saw this fun idea created by Barbara Smith, Stampin' Up! demonstrator in Australia, and asked her if I could make a video and share my version of her project with you!
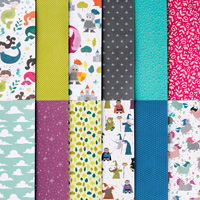
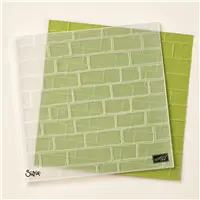
These darling castles feature the Stampin' Up! Myths & Magic designer paper (I cut out the dragons, knights and mermaid princesses), the Brick Wall embossing folder, some sponging and a fun idea for the castle door. You can also stamp, color and die cut images from the Magical Day bundle! Watch the video below for all the details.
Enjoy the VIDEO TUTORIAL below to see how fun and easy it is to make these cute castles!
If you are unable to see the video, click the video or, click HERE to watch.
Download Myths and magic castle card dimensions
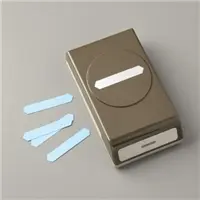
Did you love the tip in my video about using the Classic Label punch to make the notches at the top of the castle!? I thought it was so clever and easy if I do say so myself 🙂
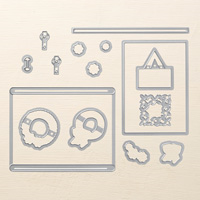
Don't forget to sponge the brick wall and add the fun hinges from the Sliding Door (barn door) framelit dies for just those little extra touches that make this project super special.
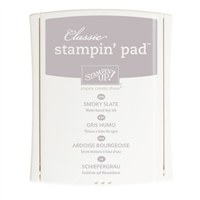
Did you catch this tip in the video? Color around the images in the Myths & Magic designer paper before cutting them out, then they will blend into the castle a little better than the white border. I used my Light Smoky Slate Stampin' Blends marker.
Below is the fun Myths & Magic paper that I fussy cut with my Paper Snips. I used the Knights, Dragons and Mermaids on my castle card. You can also stamp, color and die cut images from the Magical Day bundle! Find the Myths & Magic suite on pages 36 and 37 in your 2018 Occasions catalog or HERE online. You can also click on any of the product photos at the bottom of this post to go right to my online store to shop anytime.

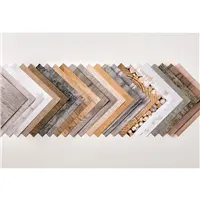
You'll find all of these Stampin' Up! supplies in my online Stampin' Up! store by clicking any of the product photos below:
Shop Online Anytime and Earn FREE STAMPS
SHOP and SAVE: Clearance Rack - Promotions
Join my Luv 2 Stamp Team of demonstrators – click for info
Sign Up for my Customer Newsletter
Patty's FREE VIDEO tutorials






Oh my gosh Patti, you have done it again! These are so cute! Love all of the details……amazing!
What fun! I may just have to make this for myself!
Good morning Patty,
Oh my gosh, This is WAY to cute…. I’m just going to have to get the supplies to make this castle….It is ADORABLE… Thanks so much for posting this video. These will make such cute cards for kids… Have a great day.
Thank you for sharing this tutorial Patty! This is so wonderful! Going to make one today. I already made a flat castle card using the brick embossing folder so this just gave me another way to use that. My one difference with the flat card was I cut along the brick lines for the top of my castle. I will have to see if that is also possible with this design.
Love your cards and ideas. Keep it up.
Oh my goodness! This is absolutely adorable!!! They would be so cute as a “sleeve” to slide over the Clear Tiny Treat Boxes. Thank you for sharing these. And thank you to Barbara Smith as well!! 🙂