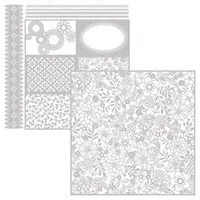
Looking for an easy way to use the beautiful Laser-Cut paper from Stampin' UP!? The Delightfully Detailed paper is gorgeous, delicate and so detailed, but can also be a challenge when you want to adhere it to your project, so here is a "cheater way" to use this paper!
Tips, and How To!
- cut the full sheet of laser-cut paper into about 4" squares – I recommend scissors
- die cut a square in a 4" x 5-1/4" piece of designer paper from Nature's Poem
- put adhesive around the square opening (back side) and attach the laser paper square to the back of the opening, then add that to your folded Grapefruit Grove card base (no need for adhesive on the actual laser paper!)
Die cut a square in your 4" x 5-1/4" piece of designer paper (mine is from Nature's Poem).
Layer your pieces together, see notes above in this post.
Delightfully Detailed Laser Cut paper, pg 189, here online
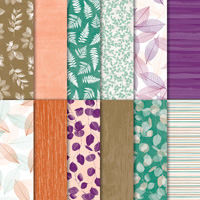
Nature's Poem 12×12 designer paper & coordinating cardstock, pg 189, here online
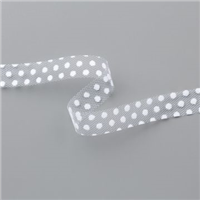
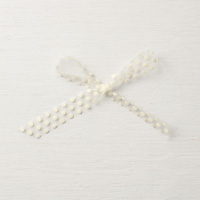
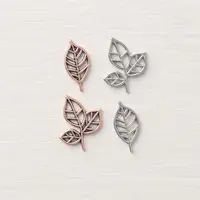
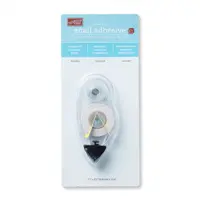
Above: to decorate your card front, you can either stamp leaves or cut them out of the preprinted Nature's Poem designer paper. I just cut them out since I was doing this for a swap and needed several and was short on time! Add a copper Leaves Trinket to the top of the leaves with a Glue Dot. Finish off the card with Polka Dot Tulle ribbon
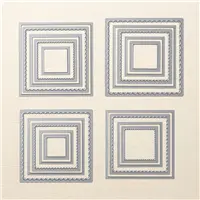
Below: Optional design includes making a frame of cardstock for an addition layer, using the Layering Square framelits.
Thanks for joining me today! I appreciate you and hope you will enjoy creating your own Delightfully Detailed Laser-cut paper cards! All supplies can be purchased in my online Stampin' UP! store – just click any of the product photos below!

Need to place a Stampin' UP! order?
Shop Online Anytime and Earn FREE STAMPS
SHOP and SAVE: Clearance Rack - Promotions
Join my Luv 2 Stamp Team of demonstrators – click for info
Sign Up for my Customer Newsletter
Patty's FREE VIDEO tutorials








Good morning Patty,
I ordered this DSP but a little worried about it… It’s so pretty but looks so delicate…I will be looking for ways to cut it . I love how you made a frame. I think it gives more pop to the card. Very pretty Patty. Well have to get ready for work. Have a great day.
This is a great idea! Thanks for the pictures to further clarify your directions. I thought I understood and the pictures confirmed it. I love all of your ideas to mass produce beautiful cards because I make cards for large groups. You have such great ideas!
I am still confused about where to put the glue ? Thanks for sharing? Hello from Canada!
Wonderful tip with these delicate pieces of DSP ! I love how easy you made it for me. Thank you.
Terrific ideas! I have love/hate relationship with glue and adhesives. Anxious to try this – have a Delightfully Detailed Class next month.