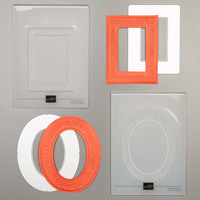
Let’s start right at the beginning of the New Stampin’ Up! catalog! These great new Heirloom Frames Die and Embossing Folder are part of the Woven Threads Suite, found on pages 12 to 14 in your new catalog, or HERE online. I created 3 different projects featuring the oval image for you today!

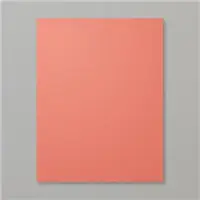
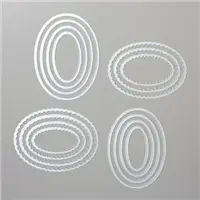
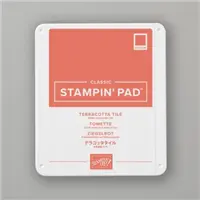
This amazing new Embossing Folder and Die combo can be found on page 13 in your new 2019 2020 Stampin’ UP! catalog, or #152325 HERE online! It also includes a rectangle frame, which I’ll be highlighting soon! For my cards today, I have used Terracotta Tile cardstock (one of the NEW 2019 2021 In Colors!) and some Terracotta Tile ink with a sponge dauber to help highlight the raised areas on some of the embossed images.
How to Use the Embossing Folder & Die:
- If you would like an oval die cut image that is embossed, be sure to die cut the oval first
- Then emboss that oval.. it’s much easier to line up that way! (ask me how I know)


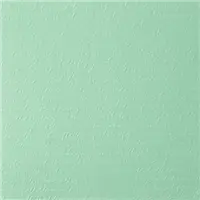
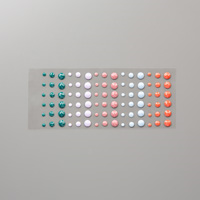
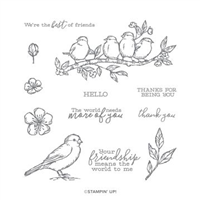
My floral card above features the die cut oval frame, sponged with Terracotta Tile ink, and layered onto an embossed background with the new Scripty embossing folder. I stamped 2 flowers from the Floral Essence stamp set, both in Terracotta Tile ink (smaller one is “stamped off” first), and added a little stamped label from the Parcels & Petals die set, stamped with a greeting from the Free as a Bird set. In Color Faceted Gems complete the card.


On my next 2 cards, I did not die cut the oval frame, I simply embossed the oval onto a 4″ x 5-1/4″ piece of Terracotta Tile cardstock and layered that onto my folded card base (Seaside Spray above, Thick Whisper White below).
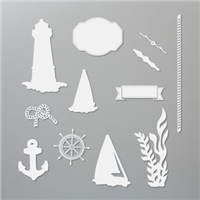
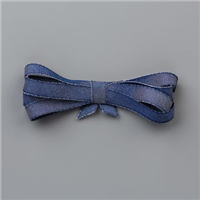
Card above: I sponged the oval embossed frame with a sponge dauber. I used a Layered Ovals scallop to die cut some of the Woven Threads designer paper, then layered a stamped greeting onto a die cut from the Sailing Home die set. Denim Ribbon and In Color Faceted Gems complete the card.
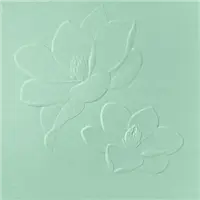
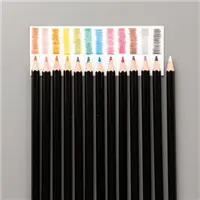
Card below: I embossed the smaller Magnolia flower image from the Magnolia embossing folder onto Petal Pink cardstock, and colored it very lightly with Watercolor Pencils, blending with a Blender Pen for just a little contrast. I did not sponge this frame, and kept the whole card very soft and subtle.

I hope you enjoyed the 3 ways I’ve shared today to use this beautiful new Heirloom embossing folder / die combo!

Added 7-12-19
Watch the Video:
Want to leave a comment? Please CLICK HERE.
Shop Online Anytime and Earn FREE STAMPS
SHOP and SAVE: Last Chance List
Join my Luv 2 Stamp Team of demonstrators – click for info
All my Favorites on Amazon - as an Amazon Associate I earn from qualifying purchases.
Sign Up for my Customer Newsletter
MY FREE VIDEOS tutorials








WOW! Spectacular cards. I got these in my overnight order and haven’t had time to try them out. Love what you did with them.
thanks! they were fun to play with!!
Wow, this is beautiful Patty, love your cards as always!!!
than you! glad you enjoyed the cards!
Thx for the great tutorial
You are most welcome!
Where can I buy the clear plate to do do 3 D embossing? I can’t find it in the catalog.
Patty I thought we had to use the new embossing plate with all the new dies? Did I misunderstand or did you have to use the new plate too? I love these folders and dies. Mine won’t arrive till Friday. Thanks for giving me idea to get started.
I just used a cardboard shim… the cardboard that comes in the 12×12 foil paper packs we sell works fine 🙂
‘Thank you for this great tutorial, Patty , I wasn’t sure about these until I saw this and had a customer asking about them . They’ll be on my next order !
The die cut magnolia from its embossing folder is a nifty trick. Would not have thought to do that. Thanks for the tip.
So glad you enjoyed it.. thank you!
Thanks Patty. Found that embossing after worked best too.
lovely cards.
Hi Patty, love your examples a lot, want to make something too. Sadly the embossing is going bad, thought I damage the bigshot. I use a stack of 5 layers of cs, old platform one tab open and one cutting plate. Works perfect with the thick 3D folders. Also cracked the fold on one of the heirloom folders. Can you please help me? Thank you so much.
You can purchase the new plate for the big shot and the 3-D embossing folders here: https://www.stampinup.com/ecweb/product/149658/3d-embossing-folder-plate?dbwsdemoid=2274
I just used a piece of cardboard that comes in the foil packets until my plate arrives.
What ‘sandwich ‘ did you use to emboss the frame once you die cut it? Every time I tried, it seemed to double emboss on the last part through. What’s your trick?
I used the magnetic platform, then a piece of cardboard from the foil sheet packet, then the emb. folder with the paper inside, then a clear plate on top.
How do you line up the paper with the embossed after you cut the shape out?
You can see through the folder, so it’s pretty easy to put the shape into the folder aligned with the embossed part.
Very Beautiful Cards! Thank you for sharing!
Hi Patty !Lovely cards .Can you explain to me how to properly align the oval cut in the waffle folder. It is complicated because it is not symmetrical. Thank you in advancement.
You can stick the oval center back into the emb. folder and use some snail to hold it in place to help you see where to put the oval ring. I saw someone do that after I did this post and it really helps!
thank you for your beautiful card ideas, I couldn’t figure out how to use these!
Patty, Thank you for the video. I tried and tried to figure out the shim recipe and then I watched this & immediately ordered the new plate. I do have a question about the 3rd card. I can see that you used the new Magnolia Embossing Folder for the center but how did you keep the embossed oval & outside pieces together? The die should separate them. Hope the ?? makes sense. Thank you for sharing your creativity
Glad you found it helpful! For the 3rd card – Magnolia embossing folder card – I embossed the magnolia, die cut it with the scalloped oval. I embossed the oval frame and placed the oval on top. I didn’t die cut the frame. Hope that helps.
Hi Patty! Great Video, thank you for the tips! I can’t find the new plates for embossing, are they in a catalog?
No, they are not in the catalog.. sorry, thought i mentioned that in the video, it is an out of publication product, offered in my online store here; https://www.stampinup.com/ecweb/product/149658/3d-embossing-folder-plate?dbwsdemoid=2274
Thank you. Great !
Hi Patty.
Great video! Thank you for the tips and sharing your creativity!
Thanks Susan!!
thank you , thank you very much, your video has been very helpful
THanks, Amy!! So happy it was helpful to you!
Patty, how did you get the watercolor Stampin’ Up logo on your grid paper?
HI Kathy, I bought them from my online Stampin’ Up! store here: https://www.stampinup.com/ecweb/product/150819/floral-grid-paper?dbwsdemoid=2274
Thank you so much for your hints!!!!! I received my folders & dies today and your hints are SUPER helpful! Thanks again,
So glad it was helpful , Edna!! thank you!
Thank you so much I just the heirloom its going to be a big help
Thank you so much for the tips for the Heirloom frames and embossing folders. I just never thought of putting the center on the embossing folder. That is just the best idea yet!
You are most welcome! so glad it was helpful!!
This is an awesome video. I’m a new hobby SU Demonstrator and I’m learning so much from some of the BEST SU Demonstrators. Thank you!❤️
Where can I buy these Heirloom dies and embossing folders?
THis post was from almost 2 years ago, I’m sorry but they are retired and no longer available.
Thankyou I had to go back and think how this one worked, nice colours though
WOW ! WOW ! Merci . SUPER !