Today I am excited to share a video with instructions for how to brayer on the Bird Ballad Laser-Cut Cards with Stampin’ UP! ink!!
Sponge Brayered Bird Ballad Laser Cut Card Video below! Don’t miss it!
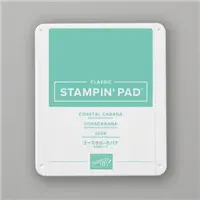
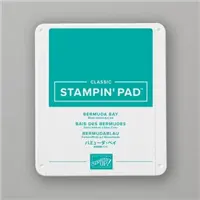
In the video at the bottom of this post, you’ll learn how to brayer the front of the Bird Ballad Laser-cut card and have a bonus card front to make a 2nd card! Above you can see where I’ve brayered Coastal Cabana, Bermuda Bay and Pretty Peacock ink onto the Laser-cut card then I have the Whisper White (above) piece or the Very Vanilla piece (below) to use on a 2nd card!
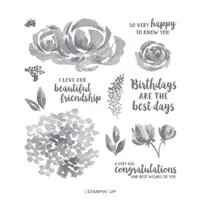
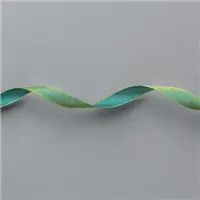
The Laser-cut card above was designed by Kurstan and I made it at a recent All Day Stampin’ Retreat. I decided to tuck the extra piece of cardstock into the laser cut card so that I’d have an extra piece for another card. The cards above feature the Beautiful Friendship stamp set (pg 123, #149251) and the same 3 colors of ink mentioned above. Note how well the reversible Old Olive/Pretty Peacock ribbon goes with this palette!
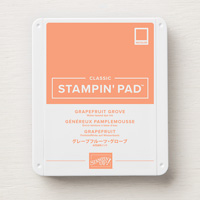
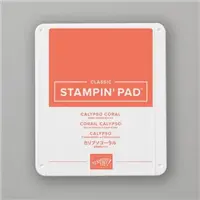
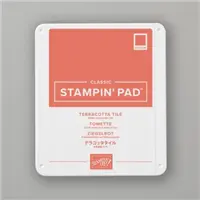
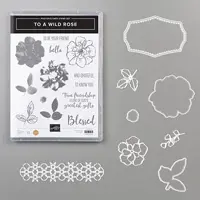
I also tried this technique with “Patty Colors” … Grapefruit Grove, Calypso Coral and Terracotta Tile. The Wild Rose flowers, colored with Pigment Sprinkles (see THIS POST) were added to these cards.
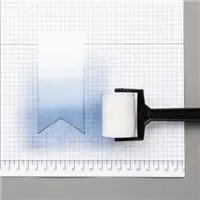
Use your Sponge Brayer to pick up ink and apply to the Laser-cut card. With an extra piece of cardstock tucked inside the laser-cut card, you end up with an EXTRA card front to use on another project!
The color combo possibilities are pretty endless… what colors of ink will you try with this fun sponge brayer technique?
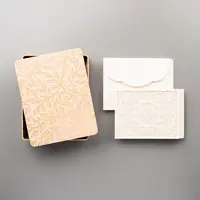
Bird Ballad Laser-cut card tin, pg 168, #149595, includes 12 laser-cut cards, 12 envelopes and this reusable tin, which is gorgeous!
Above and Below: These cards feature the Beautiful Friendship stamp set.
Watch the Video Tutorial Below!
How to use the Sponge Brayer with the Bird Ballad Laser-cut cards
Want to leave a comment? Please CLICK HERE.
Watch my helpful online ordering video HERE with tips for shopping online.
Want to leave a comment? Please CLICK HERE.
Shop Online Anytime and Earn FREE STAMPS
SHOP and SAVE: Last Chance List
Join my Luv 2 Stamp Team of demonstrators – click for info
All my Favorites on Amazon - as an Amazon Associate I earn from qualifying purchases.
Sign Up for my Customer Newsletter
MY FREE VIDEOS tutorials









Patty i just love your video. This was such a cool ideal thanks for sharing
Thank you! I’m so glad you enjoyed it!
Such beautiful cards. Your work is always gorgeous.
Thank you Mary!!
I would “sacrifice” one laser cut front to save to continue to make more brayer fronts in whatever color combos I wanted in the future:)
Yes, you could definitely keep one for a stencil / mask and keep using it!
Love it thanks for sharing ??
Thank you Tess! So glad you enjoyed it!
Great video, Patty. I really enjoyed it.
Thank you Leslie, so good to hear from you!
Wow Patty.. so beautiful.. love your idea of getting another beautiful card when brayering the original.. just love them both..thanks so much for sharing.
Thanks for the fantastic idea.
Beautiful cards, can’t wait to do this….thank you for showing this!!
LOVE this technique with the laser cut cards. Thanks for the idea.