
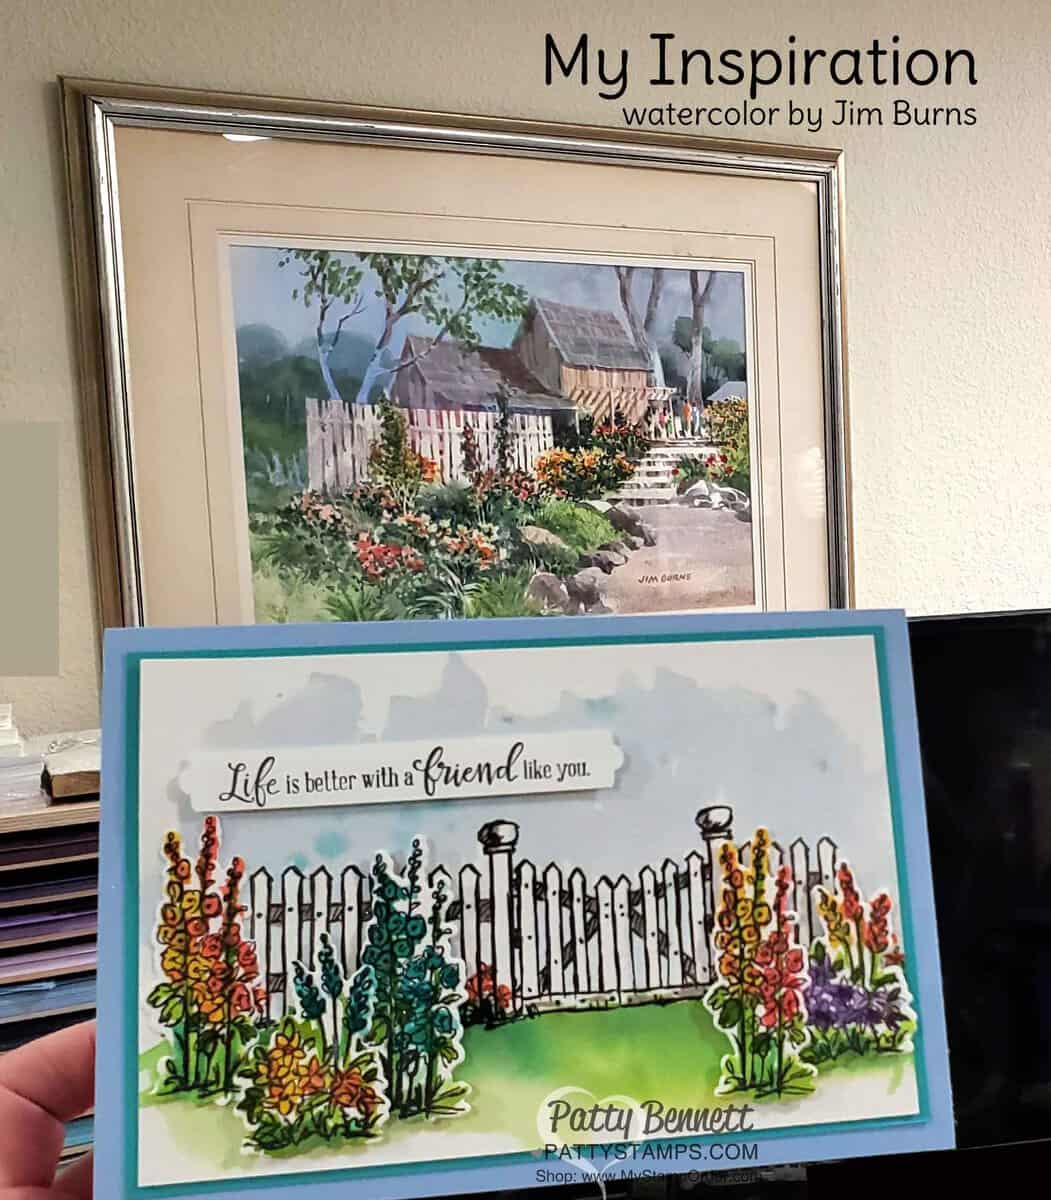
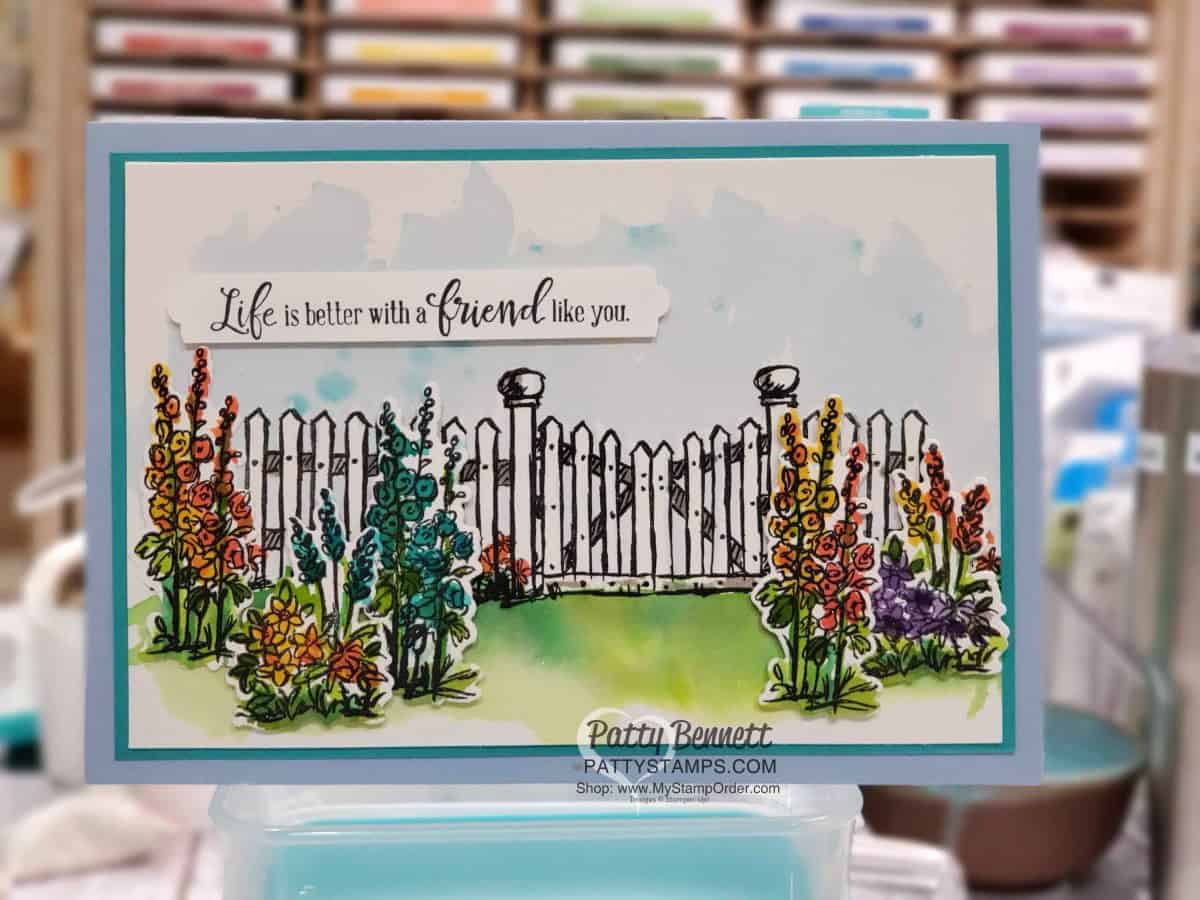
Many of you know that my dad, Jim Burns, is a watercolor artist… wait.. I mean an AMAZING watercolor artist, and I recently used one of his paintings as inspiration for my card featuring the Grace’s Garden stamp set. This painting happens to be hanging in my stamp loft, so I used it for inspiration to watercolor this card! You might have seen my facebook post about my dad painting at the senior living facility recently. It was so cute. If you missed it, it’s here.

I am not in any way a watercolor artist, but I did have a ton of fun stamping and watercoloring and die cutting these images from the Grace’s Garden bundle. All images are stamped with Black StazOn ink on Stampin’ Up! Fluid 100 Watercolor Paper. I colored all the images with Stampin’ Up! ink refills, water, and watercolor brushes.
Step by Step – How I Watercolored the Card
If you are interested, I photographed each step.. here is how I watercolored the Grace’s Garden fence and flowers card.
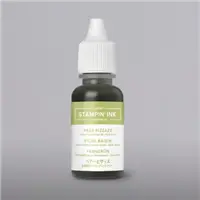
NOTE: all stamping done with black StazOn ink, on Fluid 100 Watercolor paper, and color added with Stampin’ Up! Ink Refills (dropped onto a clear block), and painted with watercolor brushes.
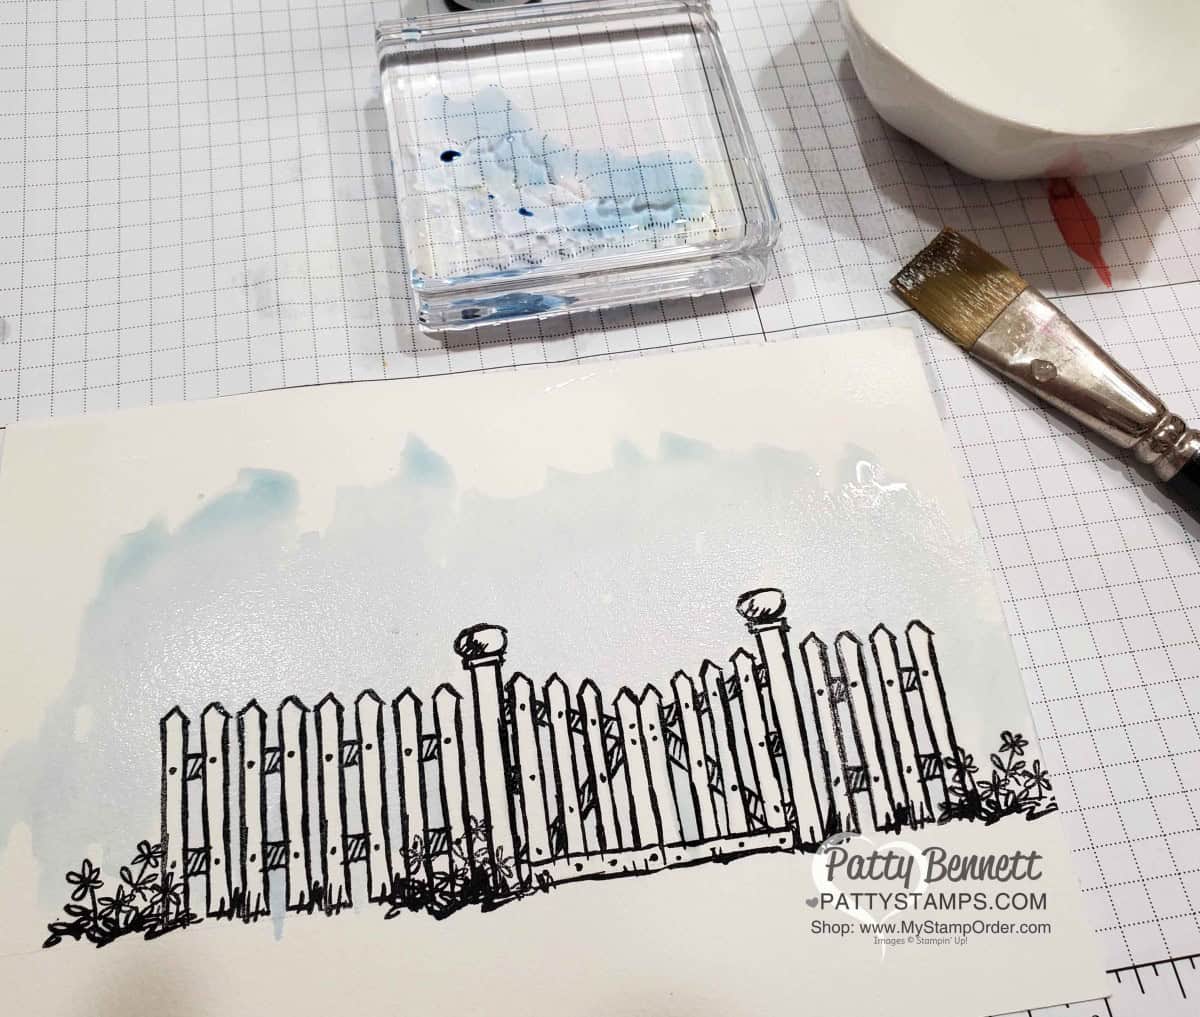
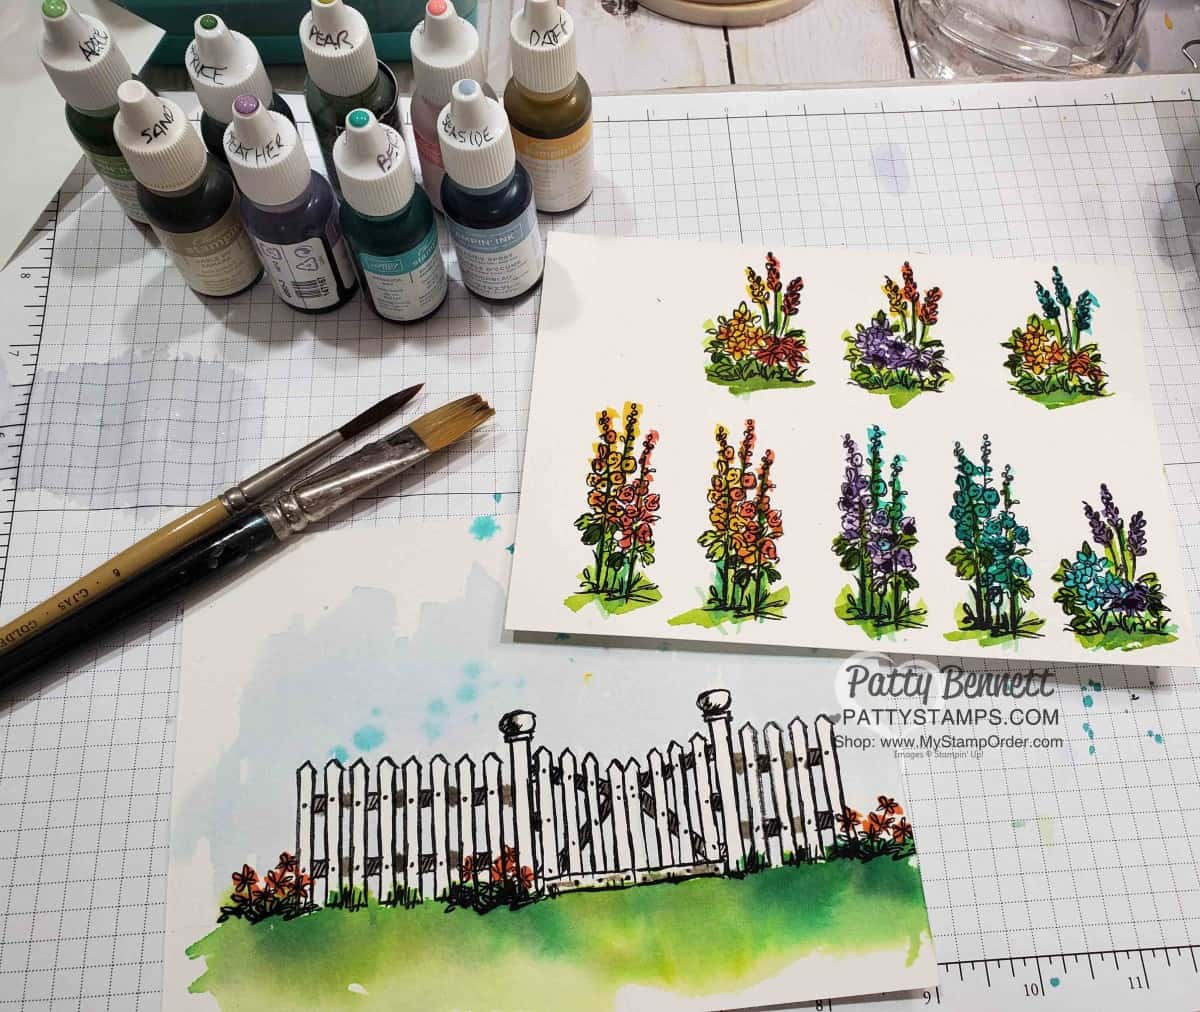
Step 1: after stamping the fence and gate, wet the sky and in between the fence pickets, and add some Seaside Spray ink to the wet area.
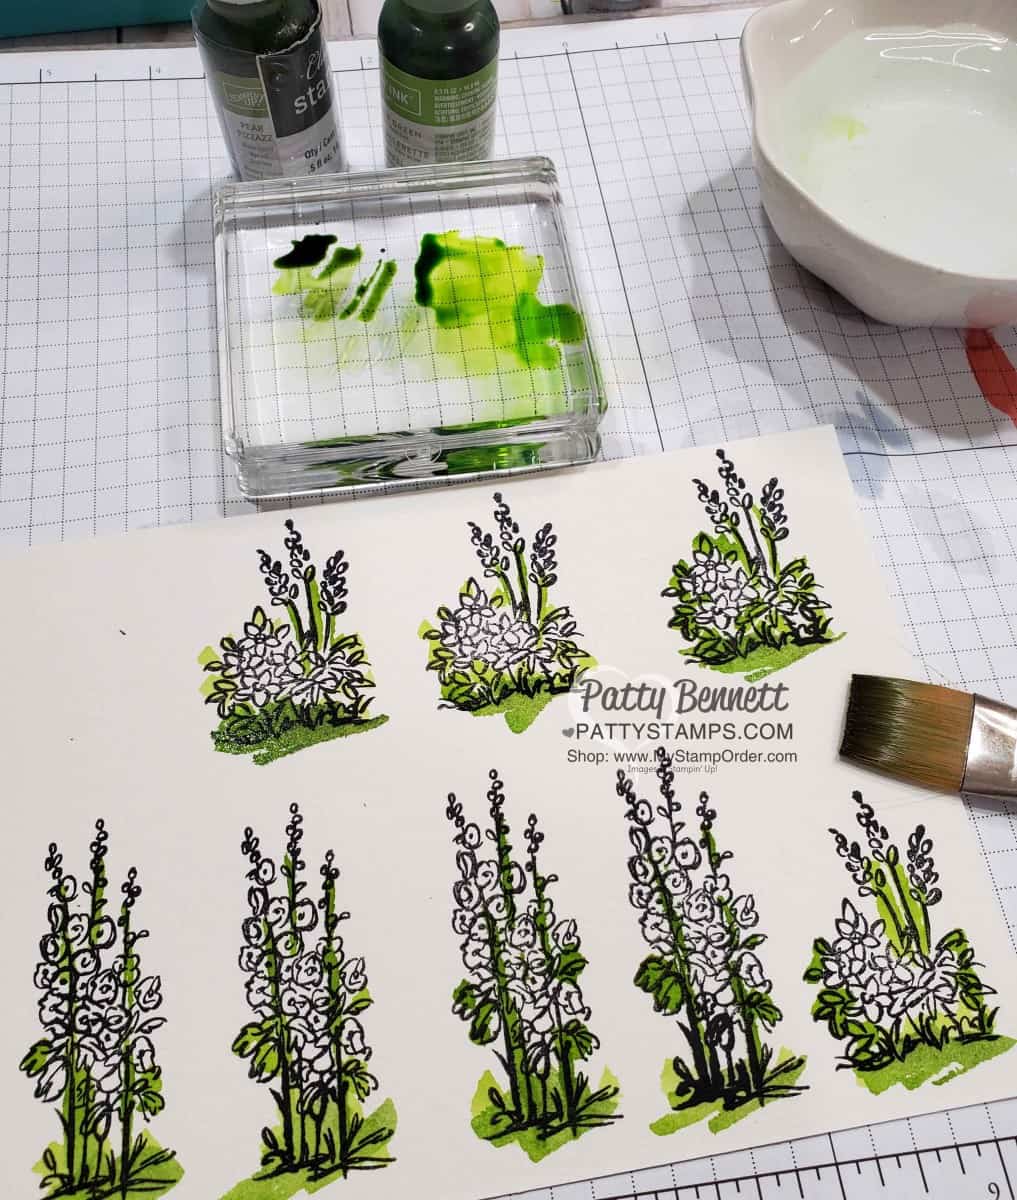
Step 2: While the sky is drying, stamp a 2nd watercolor paper sheet with the flower images, use Granny Apple Green and Pear Pizzazz ink to add color to the stems and “grass”
Step 3: Wet the “grass” area with water, and use the same green ink to add grass to the fence/gate watercolor piece.
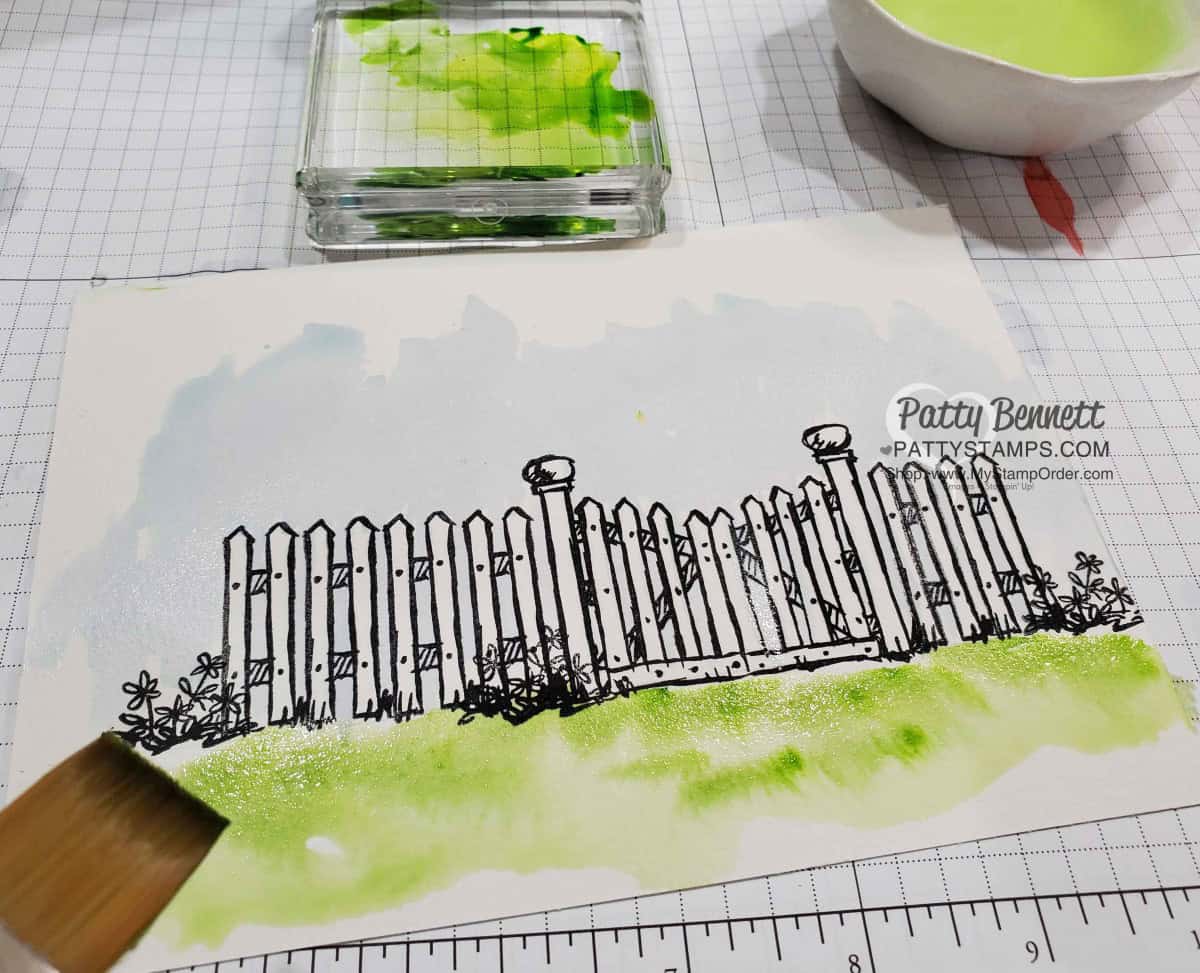
Step 4: Let the grass dry just a moment or so, and add some Shaded Spruce ink to the grass and let it bleed into the lighter green area

Step 5: Color the flowers with whatever color you’d like. I’ve used Highland Heather and Bermuda Bay below
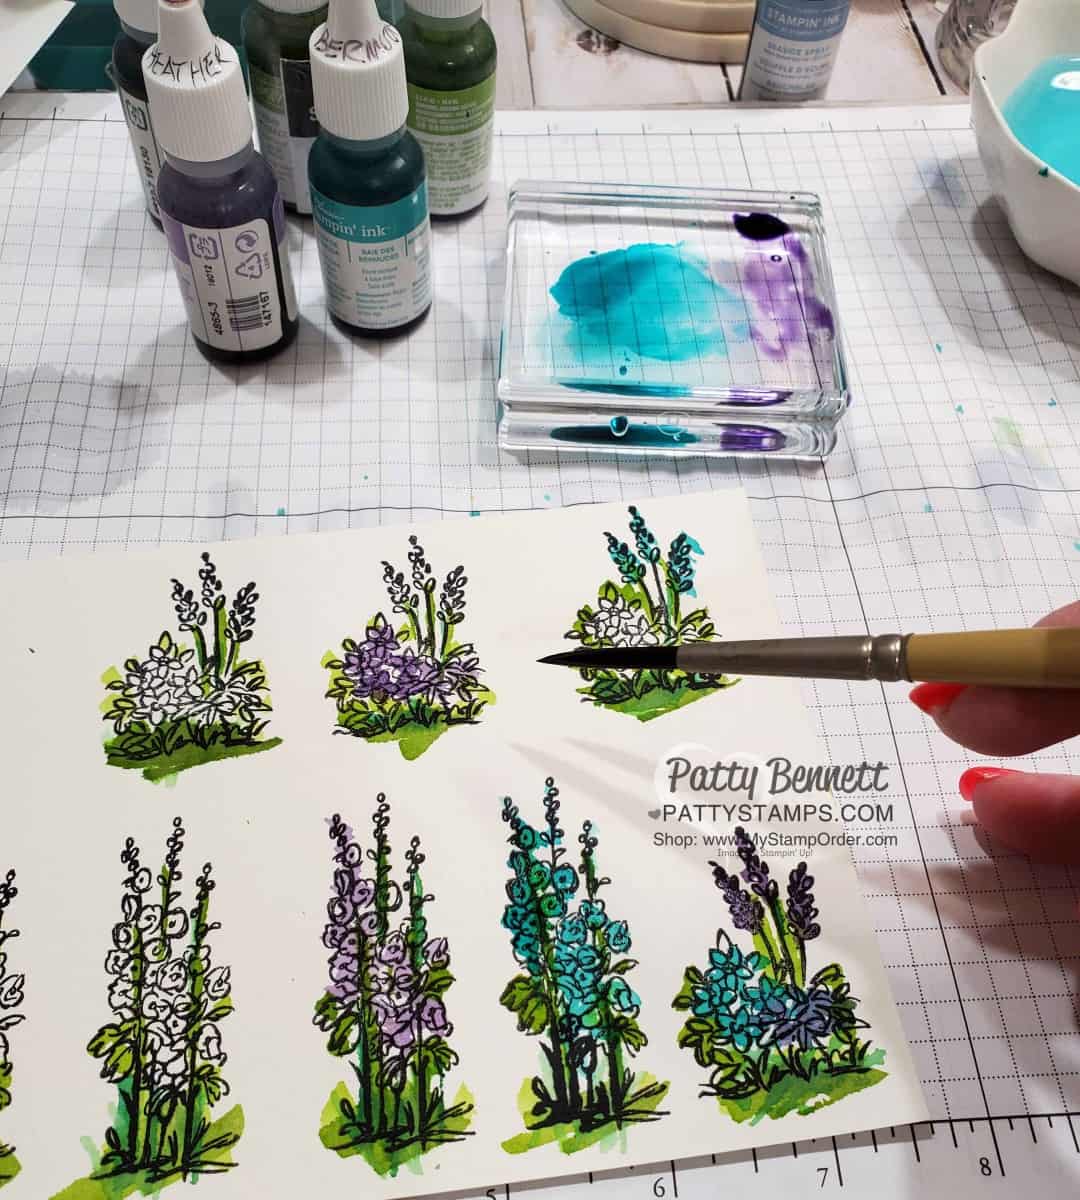
Step 6: Add more color to the flowers, I’ve added Flirty Flamingo and Daffodil Delight. NOTE: I feel that the colors turn out a bit darker on watercolor paper, so you may want to test out your colors first at the edge of the paper.

Step 7: Admire your handiwork.
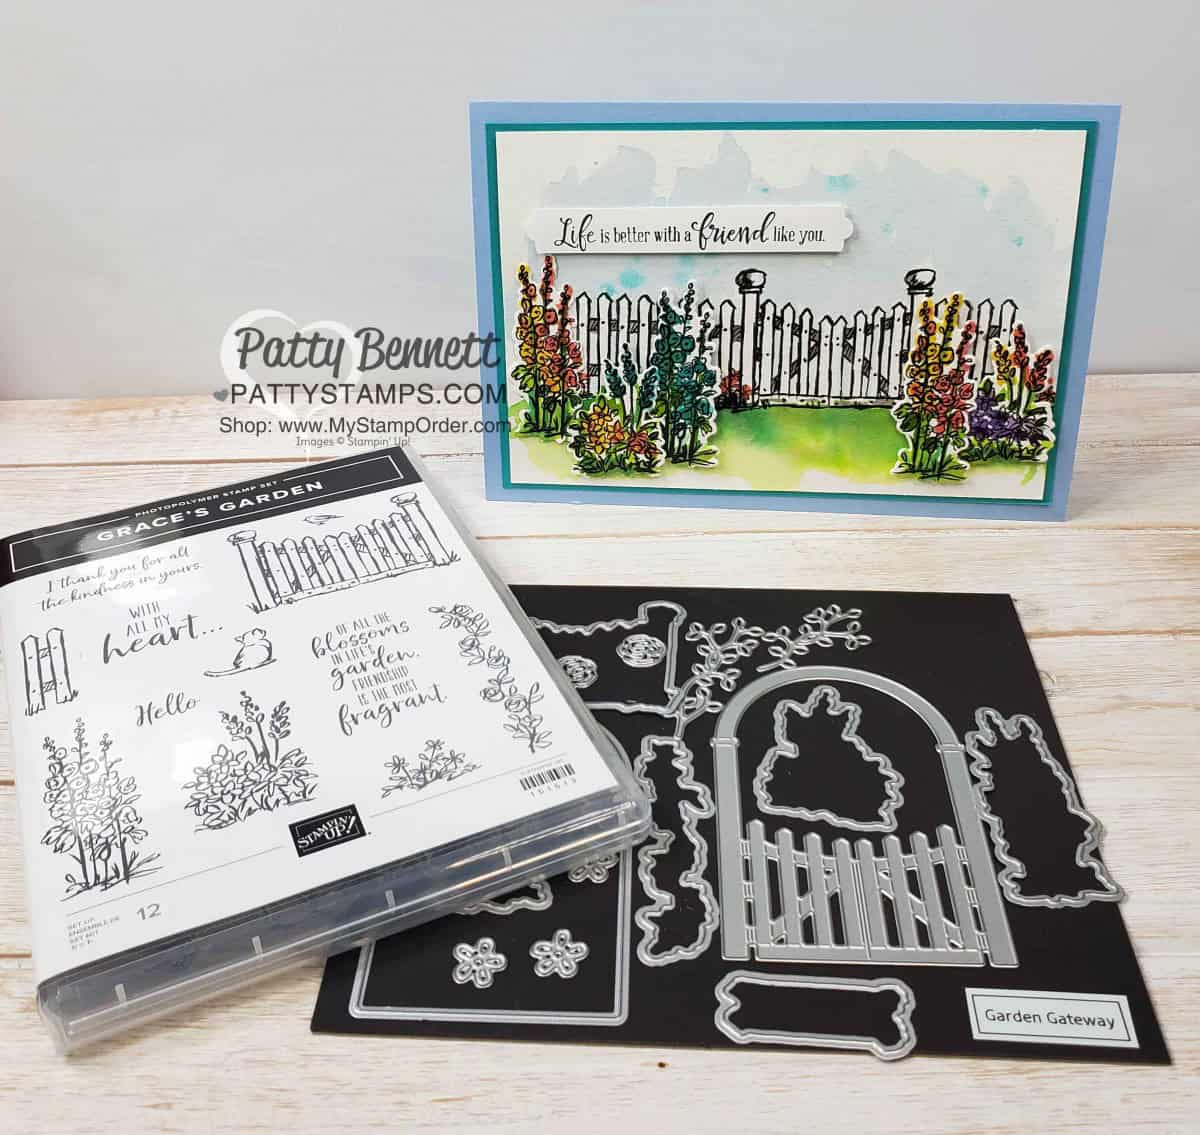
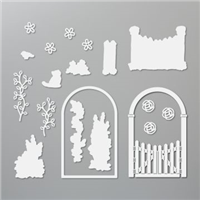
Step 8: When the sheet with the flowers is completely dry, use the dies from the Garden Gateway dies (in the Grace’s Garden bundle) to die cut the flowers.
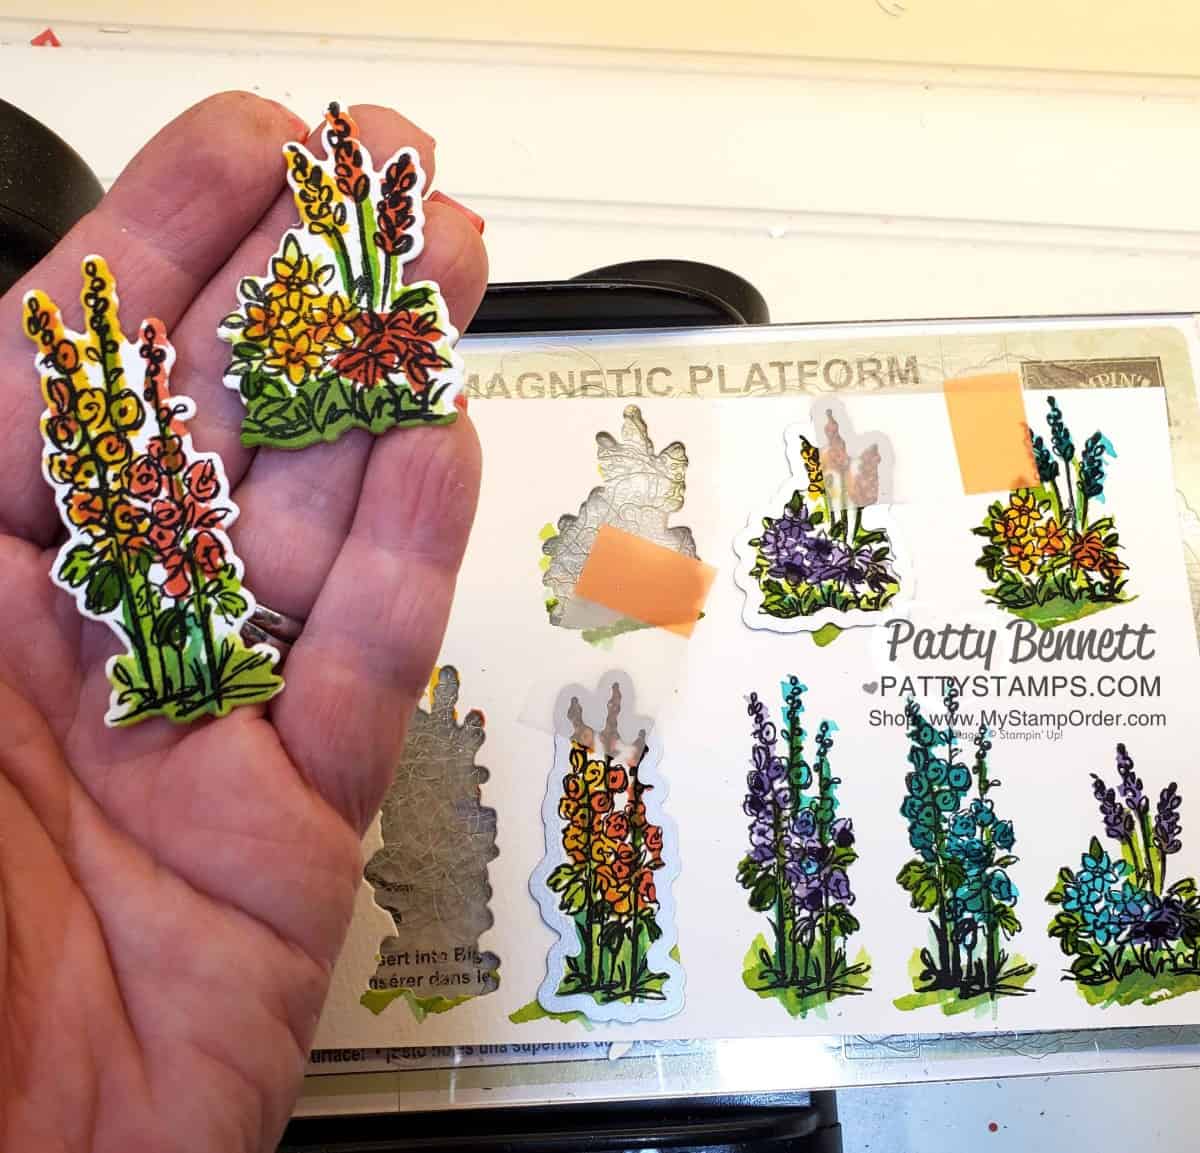
Step 9: The fun part… deciding which flower images to use and where to add them to the card!!
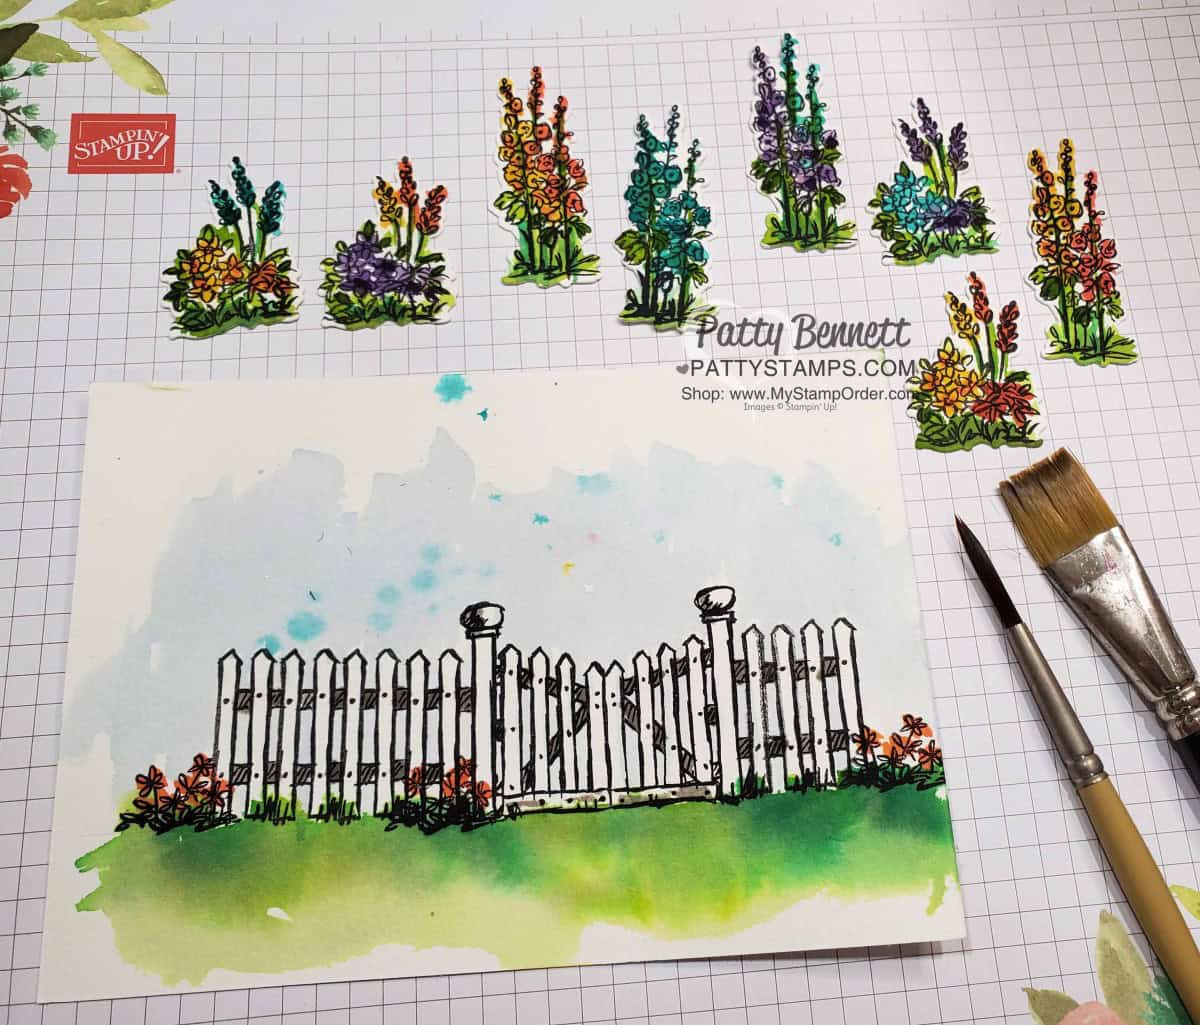
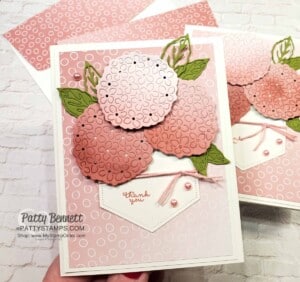
Step 10: Mount your watercolor paper to a folded card. My finished card is 5″ x 7″ and will fit nicely into a 6×9 envelope.
Thanks for visiting me today. I appreciate you and hope you enjoyed this beautiful card! I loved making it. All supplies are available by clicking any of the product photos at the bottom of this post! Thank you!
Grace’s Garden Bundle available online!


Want to leave a comment? Please CLICK HERE.

Shop Online Anytime and Earn FREE STAMPS
SHOP and SAVE: Last Chance List
Join my Luv 2 Stamp Team of demonstrators – click for info
All my Favorites on Amazon - as an Amazon Associate I earn from qualifying purchases.
Sign Up for my Customer Newsletter
MY FREE VIDEOS tutorials

You take after your dad Patty. The talent is there. You could frame that card it’s so beautiful. Love it.
Patty, I love it!! Your card is truly a watercolor work of art. You are blessed with your Dad’s gift.
Beautiful card! I love this set!
You are very inspiring , I love your work, enjoying it everyday.
Beautiful, both your dad’s painting and your inspired card. What a wonderful gift to receive, thank you.
Patty, I love this post! I’m afraid of watercoloring but after seeing how you did it, step by step, I’m going to give it a try! Thank you for all the inspiration I get from your posts every day.
Stay in, stay safe, and stamp!
Hugs, Barbara
What a delightful visit with your dad ! I enjoyed seeing how he builds his paintings . You really get your love of color from him I am sure !
I do a lot of water coloring and so anxious to try Graces Garden. It is perfect set to do watercolor. Also like to use colored pencils and then add water. Softer look. Thanks for sharing your card.
I am in Australia that card is beautiful. With the cards u make u have yr father’s talent.
Beautiful card! I love that you showed us the “step by step” as you created the image.
yes, beautiful is this card; your talent is in so many places, Patty!
You definitely have gotten your artistic talent from your dad.
His paintings are beautiful!
Beautiful card!! Your Dad’s talent has absolutely been passed on to you. I have a question, the piece you used for the sentiment, is that a die or did you freestyle cut that?
Thank you! For that strip, I punched the ends of the strip with a punch and then realized it was in a retired “punch box” from last holiday catalog (or sometime).. so I didn’t list it. Sorry about that.
This is truly awesome!!!I would like to be able to do that.. I will keep your instructions
and hopefully be able to copy it ff my computer. Thank you!
Patty, I have been told that Staz On ink will damage the polymer
Stamps. Do you have different information?
Linda Rainsdon
[email protected]
I have been told that the StazOn CLEANER should not be used on Photopolymer, so i used my Shammy and water to clean.
Hello Patty! I really enjoyed making this card! Making the background as if a watercolour painting brought out the inner child in me. Thank you for letting us case your card!
Hello Patty! I can hardly wait to use your guidance to make this card! Thank you for sharing your tips to make your masterpiece card!