

Yes, I created 75 cards (customer thank you cards… still catching up from the March retiring list release!) using the Stampin’ UP! Golden Garden acetate! There are so many different ways to use this acetate, so let’s dive in and have a look!

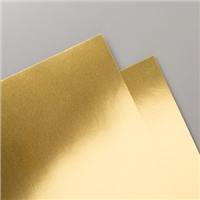
Above & Below: I’ve featured the mosaic pattern in the Golden Garden Acetate package, with the silver side on blue (above) and the gold side with Coral and Poppy (below). Isn’t it amazing that you can achieve so many different looks by combining the Fine Art Floral designer paper with the acetate in different ways!?

And, I just has to try out the mosaic pattern on the gold side with blue as well… and again, stunning results!!!

As I was assembling the VERY LAST of the 75 cards, I realized, I made a huge oopsie!! Oh my gosh… There is a film on the silver side of this Golden Garden Acetate, and you are supposed to remove it before using the acetate on your project. GULP… I noticed on my LAST card that I had not removed any of the film on any of the sheets!!! REALLY? oh well, I hope that nobody notices 🙂 Watch my video HERE for more info on removing the film!

To avoid this same Ooopsie, you might want to watch my video below, tune in right here to see the film layer and how to remove it 🙂

Moving on, the cards above feature the gorgeous acetate layer with all the gold flowers and leaves that perfectly match the Fine Art Floral printed designer paper!!! How brilliant was that combo?
Below: Tip!!! after cutting the gold foil pieces, I punched the Everyday Label punch right out of the center of the foil, reducing the need to use more foil!!

To make it easy, I created all 75 cards with the same design. I used the Everyday Label punch and the Label me Fancy punch, stamped with a greeting from the Pretty Parasol set and the Free as a Bird set.

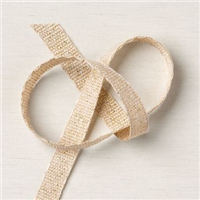
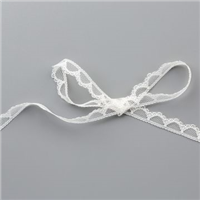
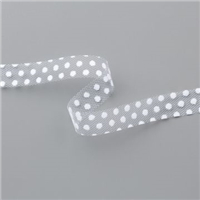
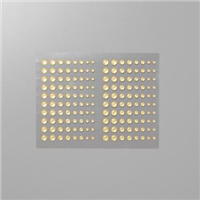
Lastly, here are a few more ideas mixing and matching the patterns from the Art Gallery designer paper and the Golden Garden Acetate. I also added some white and gold printed floral paper from the Ornate Garden paper (currently on sale for only $6 while supplies last!) I tried all different ribbons with these cards (they are all listed in the product list at the bottom of the post), and added Gold Glitter Enamel dots to each of the card with the gold foil.

Tips for using Golden Garden Acetate Video:
If you are reading this in an email, please click HERE to watch the video on my blog or watch it on PattyStamps YouTube Channel.
Want to leave a comment? Please CLICK HERE.

Watch my helpful online ordering video HERE with tips for shopping online.


Want to leave a comment? Please CLICK HERE.

Shop Online Anytime and Earn FREE STAMPS
SHOP and SAVE: Last Chance List
Join my Luv 2 Stamp Team of demonstrators – click for info
All my Favorites on Amazon - as an Amazon Associate I earn from qualifying purchases.
Sign Up for my Customer Newsletter
MY FREE VIDEOS tutorials


Hi Patty,
May I ask how you so neatly display your dsp . Do you have certain measurements so they all fit on one sheet!
I love your you tube, cards and great tips!
Thanks
Marcella
One of my team members makes them for me for each new catalog. I think if you cut strips at 1″ and 2″ you can start puzzling them together in a collage.
Thanks so much for your kind words!
Just wondering how many sheets of acetate and dsp you used to make these 75 cards?
Since this is retired and I don’t remember how many sheets are in a pack, i’m not sure, but you can get 6 cards per sheet, so you’d need 12 sheets… maybe that was 2 packs?