
I found a super easy, stress-free way to add Gold Gilded Leafing to my card projects!

Today we are talking about the EASY way to add Gold Leafing to your project!
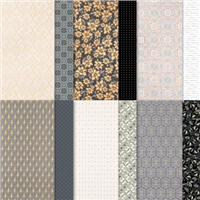
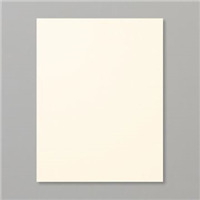
- tear your paper – I’ve used Simply Elegant designer paper from Stampin’ Up!
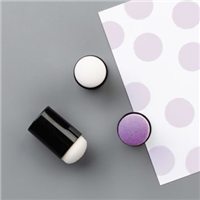
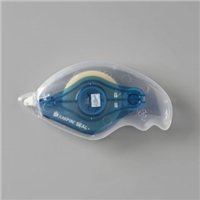
- squeeze a small amount of Multipurpose Liquid glue onto a scrap or Silicone Mat, dab a sponge or sponge dauber into the glue
- apply glue to torn edge – a little goes a long way.. apply the glue as if you were trying to LIGHTLY add ink to the torn edge
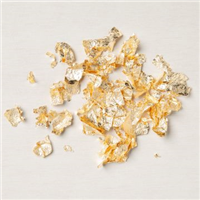
- dip the glued edge into your container of Gilded Leafing, press
- use an old paint brush, a clean sponge or fingers to whisk away excess leafing
- done
TIP: I put a little of my gilded leafing flakes into a plastic container .. you can see it above

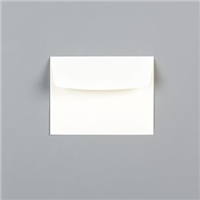
Above: My finished Simply Elegant card with gold leafing edge.
Below: a better look at the gold leafing before the card was finished.

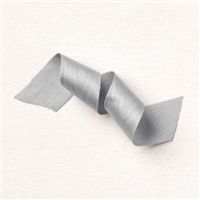
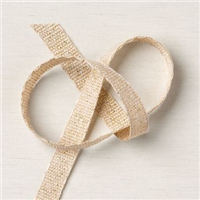
I used 2 patterns from the Simply Elegant pack on my card, plus stamped a punched tag from the coordinating Elegantly Said bundle. For the ribbon, I was just going to go with the Gold Fine Art ribbon, but then added just a knot of the Smoky Slate 7/8″ ribbon and loved that special touch!
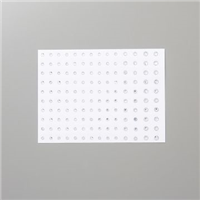
Finishing Touch: a few Rhinestones. So elegant, simple and lovely!

Want to leave a comment? Please CLICK HERE.

Watch my helpful online ordering video HERE with tips for shopping online.


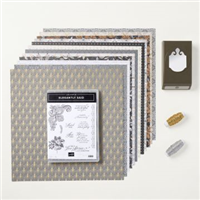
Price: $15.00


Want to leave a comment? Please CLICK HERE.

Shop Online Anytime and Earn FREE STAMPS
SHOP and SAVE: Last Chance List
Join my Luv 2 Stamp Team of demonstrators – click for info
All my Favorites on Amazon - as an Amazon Associate I earn from qualifying purchases.
Sign Up for my Customer Newsletter
MY FREE VIDEOS tutorials


Simply GORGEOUS!!
Patty, you come up with the most unique ideas. This very pretty.
This card is STUNNING! TFS, Jean
Absolutely beautiful.
Love the gilded edge!!! Thank you for your inspiration.