Thank you so much to everyone who joined in the fun yesterday on my weekly live video!! I truly appreciate each and every person who comments, likes, shares and watches my videos! If you missed the One Horse Open Sleigh live video, the replay is below in today’s post.
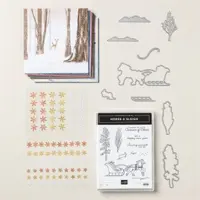
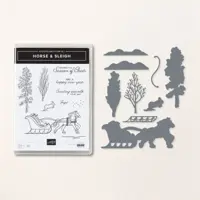
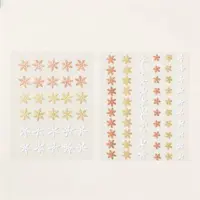
This great new suite is part of the Stampin’ Up! Online Exclusive program which means:
- it is a release OUTSIDE of a catalog publication
- we don’t know how long it will be in stock
- products are available WHILE SUPPLIES LAST
So, my best advice to you is: If you like these products, grab them on July 6th or soon thereafter in case they run out!
Watch the Video Replay!
If you are reading this in an email, please watch the replay here on my blog, or on my YouTube Channel.
My Cards & Tips:
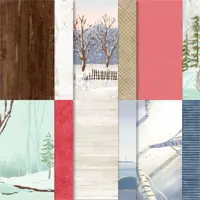
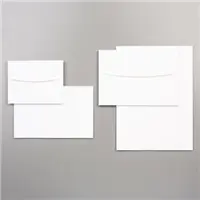
As mentioned in my video, in order to maximize the use of the gorgeous scenes on the One Horse Open Sleigh 6×6 paper stack, I made all my cards in 4×6 format. Using the Basic White Assorted Memories & More cards & envelopes pack is KEY to this card making tip.
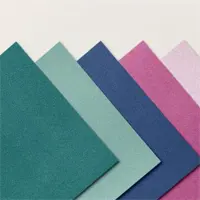
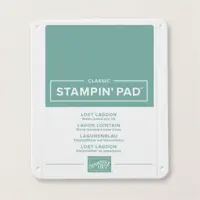
As I was creating this card, I die cut the snowy bank pieces with both white cardstock and Lost Lagoon Soft Shimmer paper, and then layered them.. I love the look!
Below:
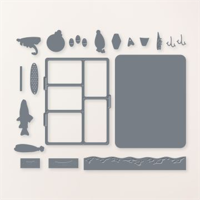
Tip!! I used the large rounded rectangle die from the Gone Fishing dies to create the card front for this sleigh card. I thought it looked kind of cool.. like looking out a window at the scene!
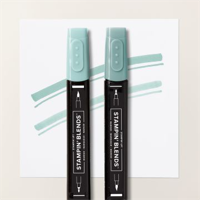
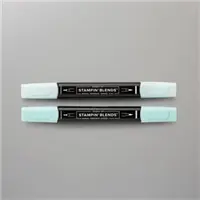
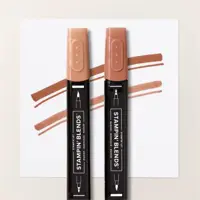
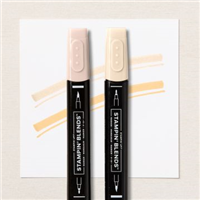
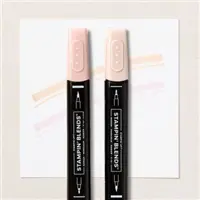
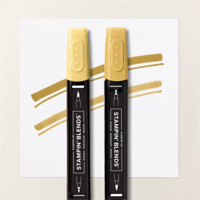
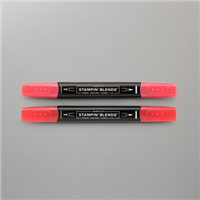
I found that using the Natural Tones Collection Stampin’ Blends in addition to my other Stampin’ Up! colors, it gave me a great selection of colors for the horses!
Below.. what did you think of this tip for creating these trees? I loved this!! Watch the video above if you missed it!
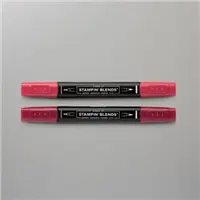
Experimenting with different colors of Stampin’ Blends markers for the sleigh and horse was so fun!
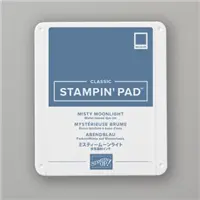
Somewhere online I saw an idea to use just the silhouette of the sleigh by die cutting it in black cardstock. I decided to use Misty Moonlight ink and cardstock for a similar look.
So truly, in case you had not noticed yet, the One Horse Open Sleigh designer paper stack is truly the star of the show for these cards. I hope you love creating with it as much as I did. Don’t forget to add it to your Shopping List and be ready to order on July 6!
Online Exclusives
As mentioned earlier this year (this post), Stampin’ Up! is offering Online Exclusive products 3x a year now (March, July and November). This suite is part of the Online Exclusive release coming July 6, 2023.
Shop!
Price: $12.50
Want to leave a comment? Please CLICK HERE.
Shop Online Anytime and Earn FREE STAMPS
SHOP and SAVE: Last Chance List
All my Favorites on Amazon - as an Amazon Associate I earn from qualifying purchases.
Join my Luv 2 Stamp Team of demonstrators – click for info
Sign Up for my Customer Newsletter
MY FREE VIDEOS tutorials







Beautiful Patty! July is a great time to start designing Christmas cards. 😉
so glad you enjoyed the ideas! thanks for watching!!
What a beautiful cards for Christmas !!!!!!
I like them all. Thank you for share with us
Thank you Therese!!!
I am a demonstrator and can’t find the item #s for the truck and punch,and # for the timeless charm stamp set.Could you enlighten me? thank you,and thank you for sharing all your tips..
I showed the Timeless Charms bundle info on the video and it’s on the demo site under Online Exclusives. We will be able to see the rest of the products and numbers on 7/6. You can see the demo site under Online Exclusives for more info about what is available now and what we are waiting for on the 6th.
I watched the replay. I was doing a 4 hour round trip to take my son to the airport. I loved your tip about the larger cards and using the luster paper and earthen elegance paper for trees. I had not figured out the “S” piece for the sleigh either. I don’t remember who said it, but they were right. Some of your amazing ideas are outside the box.
Loved the coloring techniques. Off the topic, In a recent video, you mentioned using a reverse, adhesive-backed tape measure on your paper cutter. I thought It was such a good idea
I purchased the reverse tape measure from Amazon, but now I can’t figure out how to use it. Could you please tell me how you place the measuring tape?
Hi Kathy,
Yes, you’ll want to line up the 1″ mark on the self adhesive ruler with the 1″ mark on the trimmer and apply the ruler to the top as i did on mine.
Such wonderful creations with these beautiful products. Thanks for sharing all of the color info.
Fantastic cards, fantastic video! Thanks so much for sharing.