
As shown on my weekly card making video last week, here are the completed quick and easy Painterly Pears cards created both in the vertical and horizontal orientation using the cutting templates I provided.
Add a quick greeting and a trio of Low Profile Sparkle Dots embellishments and your cards are done.
Think ahead to gift giving season..
What a GREAT gift this set of 8 cards would make!
But don’t wait too long!
As mentioned in the video, the products in the Painterly Pears suite are part of a July 2025 online exclusive release and are only available while supplies last.
To create the Horizontal Cards
Use the template below with the Painterly Pears patterned paper piece to create 4 to 6 horizontal card front panels.

To Create the Vertical Cards
Use the template below to cut the patterned paper to create 4 to 6 cards with the Painterly Pears in a vertical orientation.

Don’t forget the inside of the cards
When using a dark cardstock base it’s great to add a light colored inside panel. A little step up from regular Basic White cardstock: use the side panels from this sheet of patterned paper above.

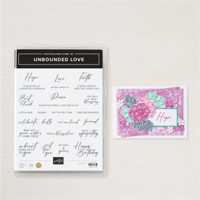
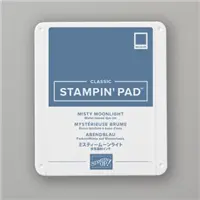
One last tip for you… cut lots of colors of card bases then use your favorites. So many colors coordinate with this pack of paper! I shared the colors I used in the supply list below. Simply click any of the Stampin’ Up! product videos to go right to the online store.
Want to leave a comment? Please CLICK HERE.
Watch my helpful online ordering video HERE with tips for shopping online.
Want to leave a comment? Please CLICK HERE.
Shop Online Anytime and Earn FREE STAMPS
SHOP and SAVE: Last Chance List
Join my Luv 2 Stamp Team of demonstrators – click for info
All my Favorites on Amazon - as an Amazon Associate I earn from qualifying purchases.
Sign Up for my Customer Newsletter
MY FREE VIDEOS tutorials










Quick and easy cards are such a time saver and these are gorgeous! Thanks for giving us the measurements and co-ordinating colors.
You are most welcome!! Thanks for visiting me each day!!
You show the same photo for both vertical and horizontal cuts for the paper. Ooops!
They are two different photos and two different templates. You can watch the video for more explanation.
They are two different photos. You can watch the video for further explanation.
Patty,
This one is definitely a beautiful set. I am so glad that I had the opportunity to get my hands on the suite. Thank you so much for the measurements and the colors. Loved the video.
You have made many gorgeous cards with this suite. I am waiting to get my order so I can make some of these. Love them all! Thank you for all your inspiration!!
You have made many gorgeous cards with this suite. I am waiting to get my order so I can make some of these. Love them all!