
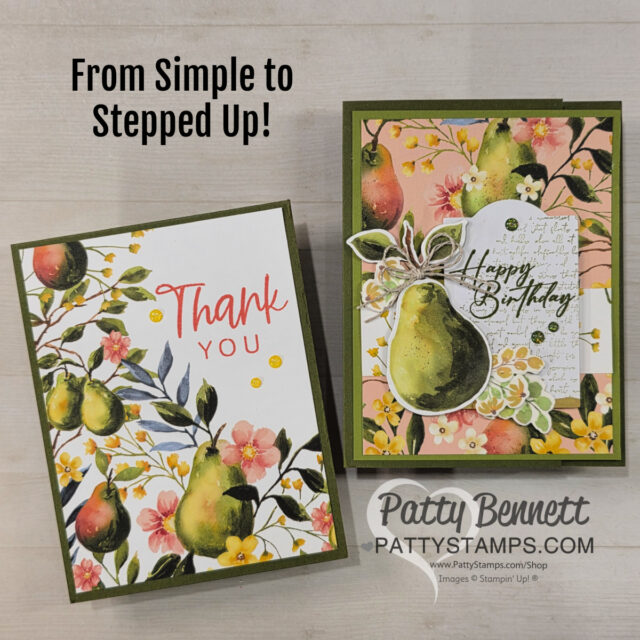
With the Stampin’ Up! Painterly Pears designer paper pack, you can make lots of cards ranging from simple cards with a stamped greeting, to stepped up cards with stamping, layers, embellishments and die cuts! I hope you enjoyed seeing these cards and 10 other cards I shared on my live weekly card making video yesterday! If you missed it, check out the replay at the bottom of this post.
Inspired by my own Mixed Media Floral cards, I used the same designer paper cutting guide idea for my Painterly Pears cards!
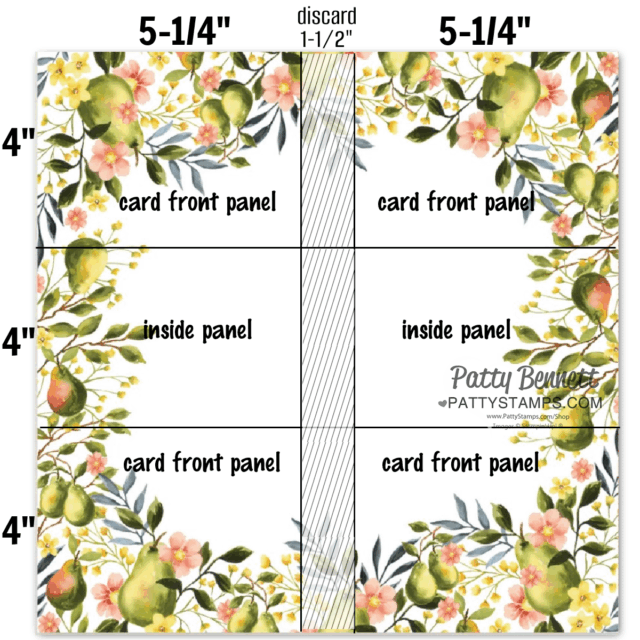
Above: paper orientation for making horizontal card fronts
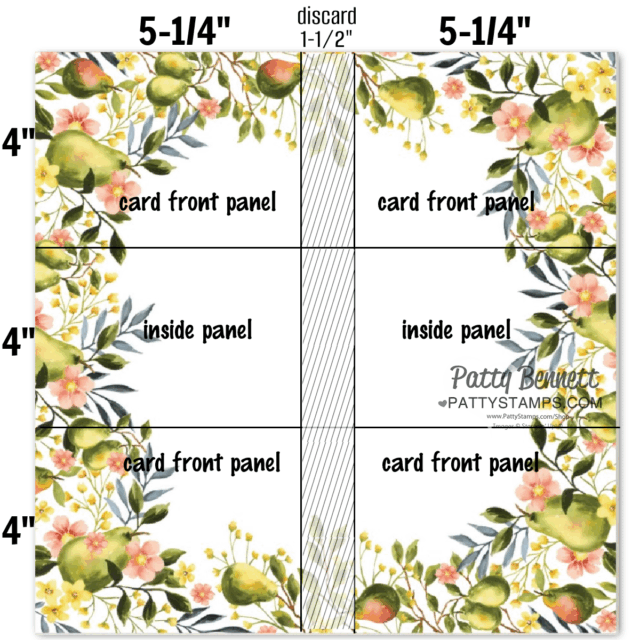
You can make 4 to 6 card fronts from this sheet of patterned paper in the Painterly Pears pack. Turn the paper 90 degrees to create vertical cards (template below). Or you can use the template above to make 4 horizontal orientation card fronts. Either way, you can use those 2 middle panels for inside of the cards if you wish.
WATCH THIS part of the video to see how to use these templates.
Below: paper orientation for vertical card fronts.
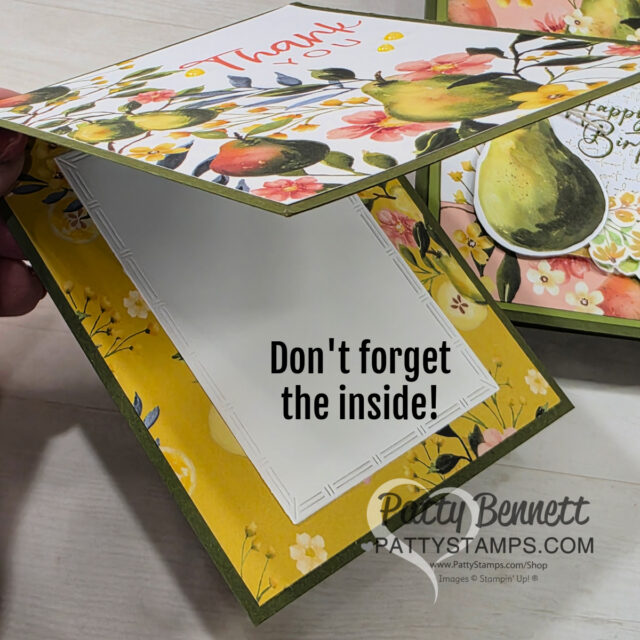
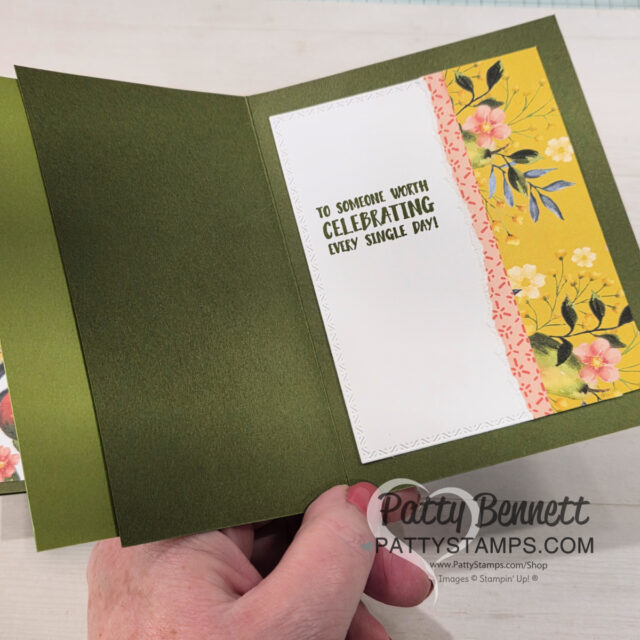
Don’t forget to gussy up the inside of your card! I used a piece of the Painterly Pears paper and a white die cut from the Textured Notes dies.
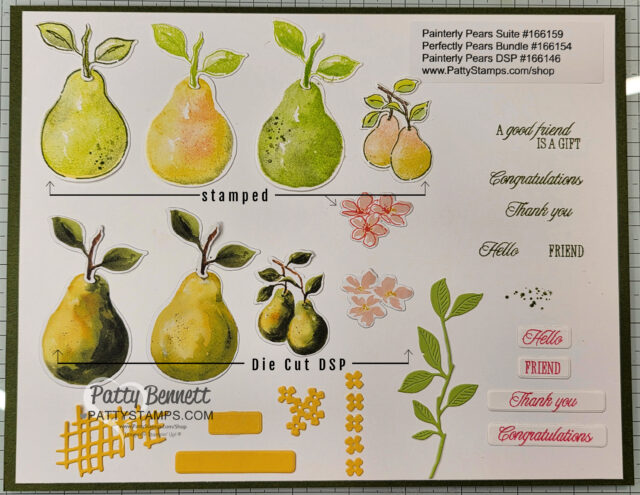
A time saver is the ability to die cut these images from the printed Painterly Pears DSP pack. If you want to stamp them, be sure to watch my video below for the tips I discovered while stamping!

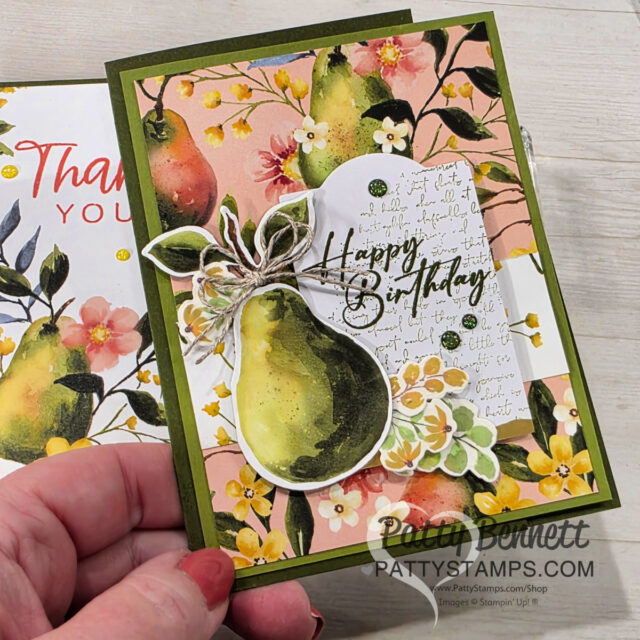
After creating the simple cards above, I made the beautiful card below and added layers, stamped images, die cuts, Extraordinary Flora washi tape flowers, linen thread and embellishments. I love how this card turned out!!
Yes, I decorated the inside, too!
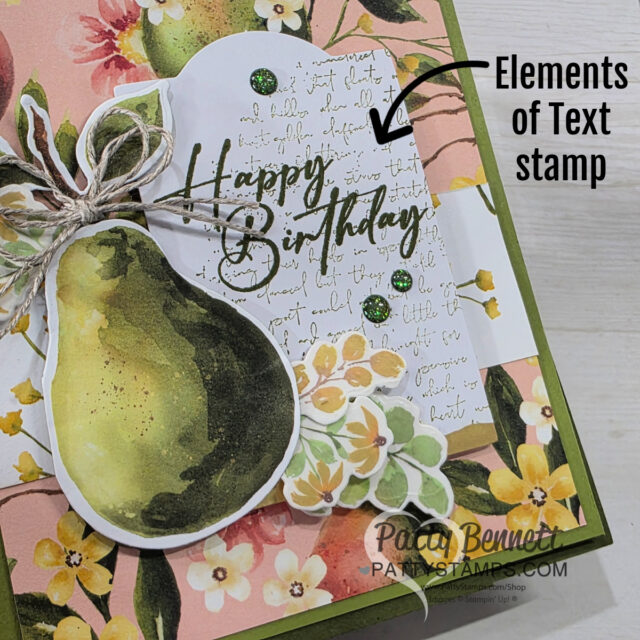
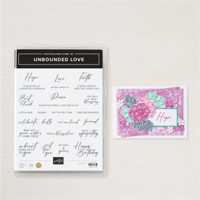
When your “white space” needs a little somethin’ somethin’, grab the Elements of Text stamp and give your white cardstock some interest with the scripty stamp image.
Oh, and one more tip… do you remember when I said I wasn’t crazy about these “wild wheat” colored flowers from the Extraordinary Flora washi tape with my pink and purple cards, but I knew I’d find a use for them – maybe in the fall?? Well.. voila… they are a perfect pairing with this paper!!
Watch the video for details on color combos when stamping the pear images, or the option to die cut the DSP.
Watch the Painterly Pears Card Video
If you are reading this in an email, you can always watch this video on my blog, or my YouTube Channel.
Want to leave a comment? Please CLICK HERE.

Watch my helpful online ordering video HERE with tips for shopping online.


Want to leave a comment? Please CLICK HERE.

Shop Online Anytime and Earn FREE STAMPS
SHOP and SAVE: Last Chance List
Join my Luv 2 Stamp Team of demonstrators – click for info
All my Favorites on Amazon - as an Amazon Associate I earn from qualifying purchases.
Sign Up for my Customer Newsletter
MY FREE VIDEOS tutorials

Gorgeous cards! Your video is so helpful, showing how to layer the colors when stamping. The measurements for cutting the DSP is so helpful and can be used on many different papers. Thank you for sharing.
So glad you enjoyed it.. it’s a beautiful suite!!
Beautiful cards, and thanks for showing us the great tips!! Red pears are not yellow and green, with red accents, they are mostly all red. Some are really red, with a brownish tint. I just love this suite!!! It is perfect for fall, too!!
Thank you so much!!
Your video was wonderful. I haven’t used the Painterly Pears set yet because I wasn’t sure how I wanted to use it, now I know, Thank you for showing all the ways to use the suite.
I’m so glad it was inspiring for you!! Enjoy!!
Absolutely fabulous cards!
So kind of you.. thank you!
DSP is 100% beautiful!!! And the cards : MORE than beautiful!!! Thank you for sharing Patty
So sweet of you.. thank you!! Glad you enjoyed it!!