
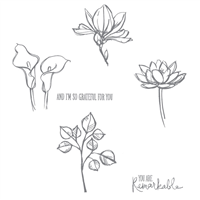
One of the swap cards I took to the 2015 Stampin' UP! Convention with me was a card with a cute banner and wooden element word on it.. you may remember this card:

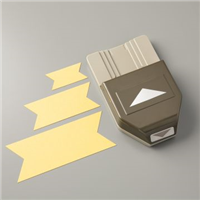
I did something kind of creative when I made the banner, and thought you might like to watch a quick video tutorial with this great tip!
Watch the VIDEO below https://www.pattystamps.com, or click here to view it on YouTube.
Watch the video above to see how I made the layered banner!

Click here to see more info on this card 🙂
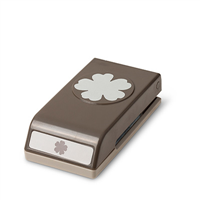
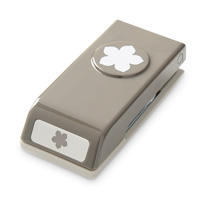
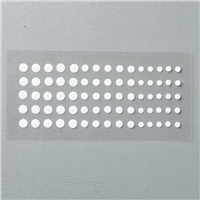
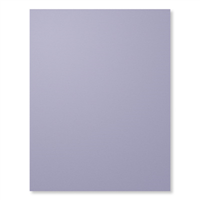
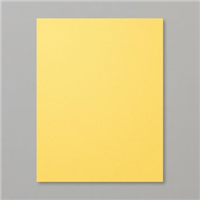
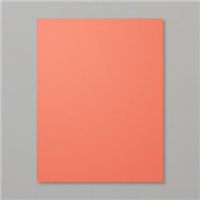
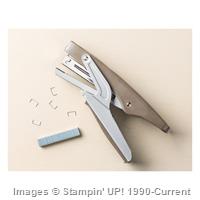
If you'd like to shop in my online store for any of these items, just click on the photos below and it will take you right to that item!


Shop Online Anytime and Earn FREE STAMPS
Sign Up for my Customer Newsletter
SHOP: Clearance Rack – Weekly Deals – Promotions
Patty's FREE VIDEO tutorials
Need a Stampin' Up! catalog?


What a great tip! This punch is awesome and is definitely a keeper! Thanks so much, Patty!
Great tip Patty! Never thought to put both pieces in the punch at the same time.
Awesome Patty! I also, would not have surmised having been able to punch through two sheets of c/s, to be honest! I knew to center paper strips to make smaller than the smallest banner size but I love your use of the punch (idea) for those in-between sizes! 🙂 Thanks so much for sharing! 🙂
Thank you Patty for the tips on your video…very pretty card!
Thanks Patty for sharing that idea. I would have never known to do that for the layering.. Keep the tips coming and have a great weekend.
BRILLIANT!!! Fantastic tip Patty!
Thanks for the tip for using the punch. Great idea and like the smaller border better. Card is cute, but why did you use the staple? It distracts from the card. Would rather have had it taped or glued. Just my opinion. Edna
So helpful. Thanks for sharing. Always enjoy watching your videos.
Glenna
Love you Patty!!!
Thanks for sharing : )