This adorable Cocoa Mug Christmas card really wins the award for CLEVERNESS!! Cindee showed me this fantastic tip about die cutting a letter C and adding it to the die cut coffee cup to make a fun cocoa mug!! Read on to see what I mean!
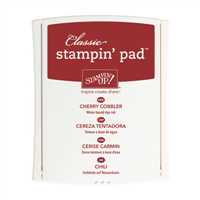
These fun Christmas Cheer Cocoa Mug cards were 2 designs I made for customer thank you cards and for swap cards that I took to Salt Lake City for the Stampin' Up! OnStage Convention recently!! I love them both. The difference in the 2 cards is the Cherry Cobbler Pattern for the mug and the Soft Sky blue background paper.
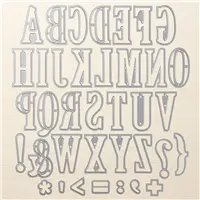
To make the cocoa mug, simply die cut a letter C from the Large Letter framelits and tuck it behind the die cut coffee cup, and voila, a fun cocoa mug!!
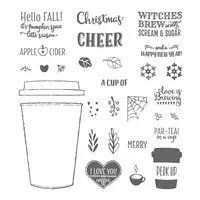
I added clear glittery Wink of Stella to the snowflakes and the whipped cream die cuts. The glitter is hard to see on the cards in the photos, but it looks pretty cute in person! The whipped cream stamp is found in the Coffee Cafe stamp set.
This is how I prepare my project when I'm creating lots of customer thank yous, Luv 2 Stamp group cards, or swaps. I get all the parts ready, organize them on my crafting desk, then start assembling.
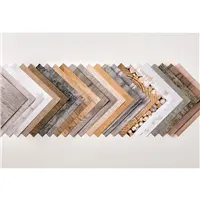
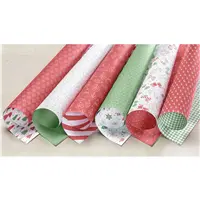
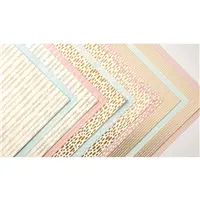
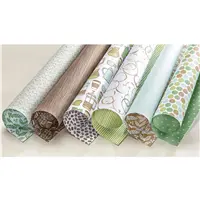
I used 4 different Stampin' Up! designer paper packs for these cards.
"Christmas Cheer" was stamped onto a piece of Wood Textures designer paper
The cocoa mugs are die cut from 2 patterns in the Be Merry designer paper pack.
The patterned blue backgrounds are from these 2 designer papers. One from Bundle of Love and the other from Coffee Break!
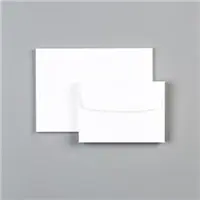
The card base is a Stampin' Up! thick Whisper White note card. The Soft Sky designer paper pieces are 3" x 5" and the Wood Textures paper is 2" x 3".
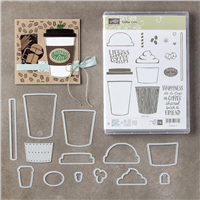
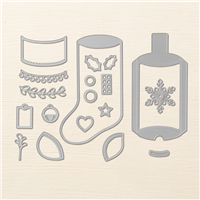
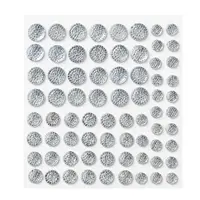
The coffee cup die cut is found in the Coffee Cups Framelit set, the C is from the Large Letters framelits, and the snowflake is found in the Trim your Stocking framelit set. I added some clear Faceted Gems to about 1/2 of the cards I made. All supplies are listed below for you shopping convenience.
Thank you for reading my blog post today! I hope these Stampin' Blends cards inspired you!

You can make these note cards, too! You'll find all of these Stampin' Up! supplies in my online Stampin' Up! store by clicking any of the product photos below:
Shop Online Anytime and Earn FREE STAMPS
SHOP and SAVE: Clearance Rack - Promotions
Join my Luv 2 Stamp Team of demonstrators – click for info
Sign Up for my Customer Newsletter
Patty's FREE VIDEO tutorials








Good morning Patty,
Oh how Cute are those mugs…The C framelit is a very clever idea. Hats off to Cindee.lol…..Adorable….. Thanks for sharing and have a great day.
Those mugs turned out very cute Patty! What a great tip, and what a darling mug, I love the pattern of DSP you chose, it makes the mugs feel like the happy holiday red cups we see everywhere around this time of year. Jealous of the lucky folks who were able to get their hands on a “Patty original” 🙂 Have a great weekend!
Okay, I love the card! But I also love the tray you organize your parts in…..where did you get it?
Your mugs are adorable, love the colors too.
YUM! Now I need a cup of cocoa!
Patty those mug cards are so cute, I love them. The colors and patterns are just right!
Those are SO CUTE! Great idea C + framelit for the cup! I LOVE how you use the small pieces of Woodgrain DSP too! LOVE LOVE LOVE these! Thank you for sharing! I was at OnStage and got to see you earn all the WELL-DESERVED awards! CONGRATS and BEST Wishes!