
This technique is so addictive!! I’ve made a dozen of these Alcohol Ink Vellum background pieces with Stampin’ Blends markers, and I feel like I could create these in endless color combos forever!!

I am sorry about the Facebook live issues yesterday, if you did not watch the video on my Youtube channel, please enjoy the VIDEO replay at the bottom of this blog post!

If you’ve watched any of the many video tutorials on YouTube for this technique, you know there are lots of ways to create these backgrounds with Stampin’ Blends alcohol markers on vellum cardstock. I wanted to try a few different things with this technique, so as you’ll see in the video below, I also used a spritz bottle with rubbing alcohol and lots of Wink of Stella!

Stampin’ Blends Color Combos:
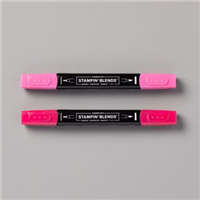
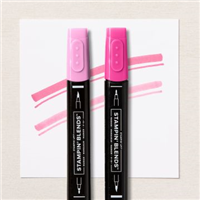
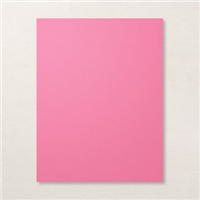
Pink Card in this post: Dark Melon Mambo, Dark Polished Pink, Dark Rich Razzleberry, Dark Fresh Freesia + Wink of Stella
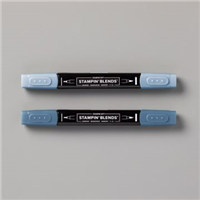
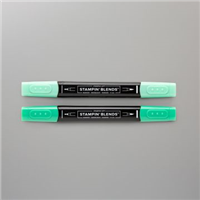
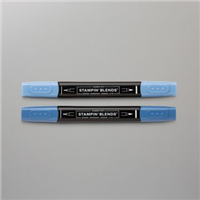
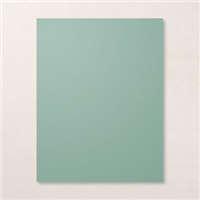
Blue/Green card in this post: Dark Misty Moonlight, Light Misty Moonlight, Dark Shaded Spruce, Dark Night of Navy + Wink of Stella

Alcohol Ink Vellum Background Instructions:
This is my version, as I’ve mentioned, you’ll find many other ways to do this on YouTube
- Scribble Stampin’ Blends ink onto Vellum Cardstock
- Spritz with 90% Rubbing Alcohol in a spritzer or spray bottle
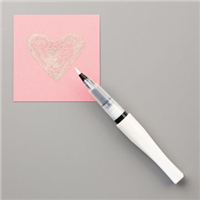
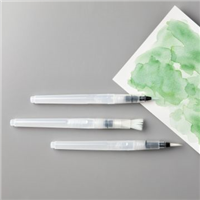
- Dip Brush or Water Painter into Rubbing Alcohol and dab onto each color (doing all of one color at a time, clean brush, move to next color, etc.)
- Drip, tap and splash Wink of Stella as desired
- Drip, tap and splash rubbing alcohol
- Flick more ink from Stampin’ Blends onto project
- Dry with heat tool if desired
- Mount to cardstock – mounting on white will really make the colors pop!


After I created several background pieces, and let them air dry (about an hour), I used Seal+ to adhere them to Thick Basic White Cardstock.
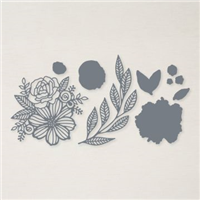
To create my finished pink card, I added Adhesive Sheets to Basic White cardstock, and die cut it with the Artistic Die, then peeled the backing off and added the “sticker” to my vellum.

To frame my vellum piece, I die cut a Stitched Rectangle with Polished Pink cardstock, cut strips of Foam Adhesive Sheets, added per the photo below, then added the frame to the vellum piece.

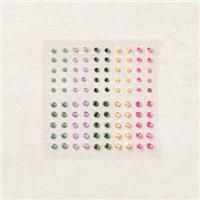
My Heartfelt Thanks card is finished off with a white crinkled seam binding ribbon bow and the greeting from the Encircled in Friendship set and a die cut from the Tasteful Labels dies. Polished Pink Jewels finish off the center of the large flower. (get them free from me with your $50 order June 16-30, 2021).


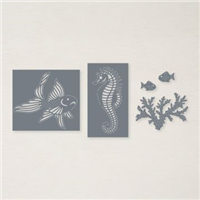
The second card I’m happy to share with you today features a die cut seahorse from the Sea Life dies, from the Ombre Specialty paper! The seaweed is die cut from Evening Evergreen Shimmer vellum.. it’s pretty sparkly in person, sorry this photo didn’t catch that! Evening Evergreen jewels look like underwater bubbles on my card, and the greeting is from the new Many Happenings stamp set!

Watch the Video!
A replay of the live video from yesterday is pasted below. If you are reading this in an email, feel free to watch the video HERE on my blog or on my YouTube Channel.
Want to leave a comment? Please CLICK HERE.

Watch my helpful online ordering video HERE with tips for shopping online.


Want to leave a comment? Please CLICK HERE.

Shop Online Anytime and Earn FREE STAMPS
SHOP and SAVE: Last Chance List
Join my Luv 2 Stamp Team of demonstrators – click for info
All my Favorites on Amazon - as an Amazon Associate I earn from qualifying purchases.
Sign Up for my Customer Newsletter
MY FREE VIDEOS tutorials


Patty, these cards and backgrounds are stunning! I can’t possibly pick a favorite because I love each one. Thank you for showing how you created them. Your technique is the best I’ve seen.
Thanks Fran!! Glad you enjoyed it!
I love this technique. I have made a few cards and it is so fun and addictive. Thanks for the tips.
So glad you have been enjoying it!! So much fun!
Good morning Patty,
I loved your video and I really love your cards… I’ve been playing around with this technique for a few months now and I’m loving it. So much fun. I’m also doing the faux mother of Pearl technique. I’m enjoying these techniques .. They make gorgeous cards. Thanks for sharing
oooh I’ll have to look up that one.. sounds gorgeous!!!
Ooooh! The underwater cards, especially the seahorse. Mother of Pearl technique – I want to know how that is done.
Thanks for the video.
GREAT technique! Nice to do since the Expressions in Ink is on backorder. Just add a some gold flakes. I love your frame idea for the diecut flower. Thanks for sharing!!!
Yes, I’m thinking that’s partly why people started doing this technique! 🙂
Thanks for sharing your wonderful technique, I always appreciate your informative and helpful tips, you are amazing, regards Shirley
So kind of you, Shirley!! thank you!
Thank You Patty for sharing this technique, you make it look so easy. My favorite is the Seahorse card, but do love all the others. Such a fun technique.💜💜💜
My favorite is the sea horse. I do love those colors together.
Thank you, I love that one too! 🙂
Absolutely gorgeous backgrounds. I’m going to have to give this technique a try.
Thank you Kathy, have fun!!
Beautiful and looks like fun. Thanks for sharing.
Just loved this video!!!!My favorite is the blues and greens, the watery look.
I loved the sea horse and the beautiful koi fish……..I have the set, and now I’m
going to be making beautiful backgrounds !!! Thank you so much!!!!!
Oooh have fun.. i know you will love them!!!!
This technic is so cool.Thank You.
You are most welcome, glad you enjoyed it!
Hi Patty, just finished watching your wonderfully excellent video on your blog showing the alcohol and stampin blends alcohol marker technique. Thoroughly enjoyed your presentation, especially the way you made it look so easy and quite quick to execute too! I have been wanting to give this a try for a while now, but hadn’t found a full proof video to watch until yours. I am definitely going to try this out and see what I come up with. Thank you. Hello to you and yours from us here in New Zealand.
Thank you so much Christine! I am thrilled that you enjoyed it and I hope you will have fun trying it!!!
Love your directions! Wink of Stella is a great idea, thanks. I started using a straw to blow it out and found I have more control that way.
oooh excellent tip! thank you! and then you aren’t breathing in the fumes as much, too!
This is the most helpful tips on doing this technique. Best video I have seen for doing this technique. Love the color combos.
Oh Judy, thank you!!
Patty, I was so tickled to see your post today, and watch the video. It was my intention to try this technique today, and out of nowhere, you had the instructions for me. I just can’t wait to give it a try myself. I think the favorite card that you showed was the one with the succulent overlay. I liked that purple and green combo, but I like the blue and greens, too.
Wish me luck!
Yay!! that’s wonderful.. I’m glad you found it and I hope you have as much fun as I did creating with this technique!!!
Patty, I’m a S.U. Demonstrator. Thank you for sharing this idea. I can’t wait to try it. You do such a great job of explaining techniques and sharing products. Have a wonderful day 😊.
Love these! OMGosh – I never thought about using the adhesive paper for the die cuts! I ordered some and can’t wait to try it. I have so many cutting dies to use that with! Love all the colors. Thanks for the inspiration!