
Behind the Scenes!
You asked for it.. well, you actually asked for a video, but I didn’t have time to take several videos and splice them all together, so I’m sharing the step by step photos of How I do a paper share with Stampin’ Up! designer paper! I’ve been offering these Paper Shares for about 8 years (I think!!), and I’m so glad you enjoy them! Lots of hours, planning, advertising, chopping, etc., go in to each share!
First of all, thank you to each one of you who have ordered a Paper Share from me over the years! I truly appreciate your support of my business in this way and hope that you’ve enjoyed the sampling of Designer Paper from each catalog!
Step 1: Decide what is in the Paper Share
I sit down with my new catalog, and a worksheet and determine which paper and how much each person gets (usually 1/4 pack), then I figure out the price, how it will be packaged and shipped, and how much shipping will be.

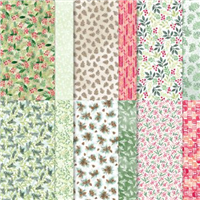
Step 2: Make a graphic and advertise
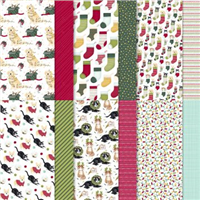
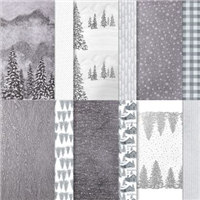
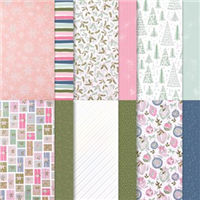
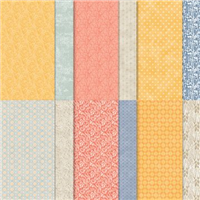
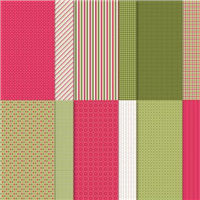
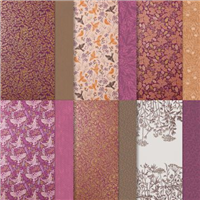
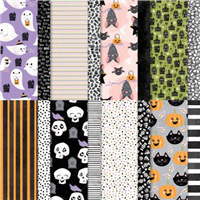
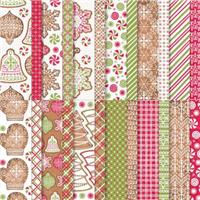
I overnight ship the new papers to myself when we have a demonstrator preorder, I photograph them and make a graphic with PicMonkey to advertise the paper share on my blog and social media, as well as in my customer newsletter.

Step 3: Collect reservations and send out PayPal invoices
7 Days before ordering the paper, I email the PayPal invoices to each participant.
I order the paper on the first day the new catalog goes live.
While I wait for the paper to arrive, I usually type and print all the labels for each of the 6×6 cello bags.. this is usually about 1200 labels/cello bags. Putting all the labels on the bags sometimes falls to my hubby, or a local helper. I much appreciate the help with this step!!
Step 4: Paper Arrives!
After ordering the paper from Stampin’ Up!, I eagerly await the UPS truck and the delivery!

Step 5: Paper Cutting!
I unpack the boxes, count all the packs of paper, then start chopping it into 6×6 sizes using my KW Trio 3943 Heavy Duty Paper Trimmer

Step 6: Packaging
As I cut the paper, I slip the 6×6 stacks into cello bags with labels on them

After packaging each individual paper pattern into cello bags, I collect 1 of each and put them into a larger cello bag to send to each participant.

Step 7: Prep for mailing
Since I bill paper share participants through PayPal, I also create shipping labels through PayPal for the US Mail Priority envelopes.

Step 8: Post Office Run
The closest post office is next door to a Big Lots store.. so I always grab a cart in the parking lot and fill it with post office tubs filled with my packages. It took me 2 days of post office trips for the last paper share. Then I give myself a “high 5” and congratulate myself for another successful Paper Share!

I advertise for 3 to 4 weeks prior to each new catalog for the paper share. Be sure you have subscribed to my blog or my newsletter to get future notifications.
If you missed the Holiday catalog paper share, you can always purchase the individual designer paper from the catalog in my online store below!
Price: $15.00
Price: $15.00
Price: $15.00
Price: $11.50
Want to leave a comment? Please CLICK HERE.

Shop Online Anytime and Earn FREE STAMPS
SHOP and SAVE: Last Chance List
Join my Luv 2 Stamp Team of demonstrators – click for info
All my Favorites on Amazon - as an Amazon Associate I earn from qualifying purchases.
Sign Up for my Customer Newsletter
MY FREE VIDEOS tutorials


I’ve always wondered how paper shares were done. As usual you answer my unasked questions. This is certainly time-consuming. I’m pleased to see you have a large following for paper shares.
I have gotten Patty’s paper shares. They are the best..labeled seperately and packaged to arrive u undamaged. Unlike some others I have gotten….no labels..smaller pieces of designer paper.
Wowzers!
Wow! Thank you for all your hard work getting a paper share together. You are an amazing person. I do love the paper shares!
This is so incredibly helpful Patty! Thank you!