
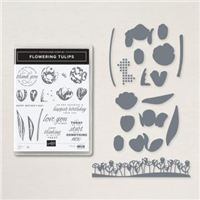
Yes, finally, as promised… and I think you are going to LOVE this… how to use the Tulips dies!! And a huge bonus.. wait until you see my secret… I’m using New Horizons and Simply Marbelous designer paper to die cut the tulips!!!

Ok, can we just pause right there for a moment… I think these turned out seriously gorgeous!!!!!!!
I hope you’ll take a moment to Watch The Video below in this post to see all my card making tips for the Tulips dies!

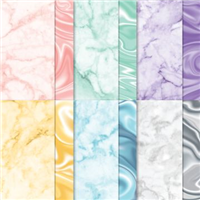
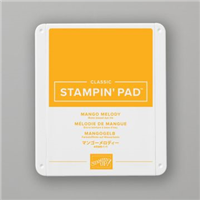
My first secret for creating beautiful die cut tulips is to use the Simply Marbelous designer paper, which is included as a free Sale-a-Bration gift choice (Jan. 4 – Feb. 28, 2022).

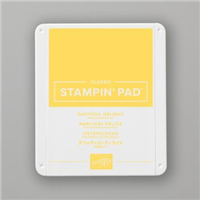
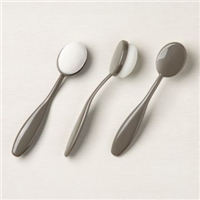
You will find TONS of great color combinations to use with this Simply Marbelous paper when adding more ink colors with your Blending Brushes!!

All 5 of my cards today feature the paper tulips added to a white scalloped die cut, and I decided to stamp the stems and leaves on the die cut, using Pear Pizzazz ink.
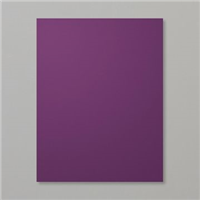
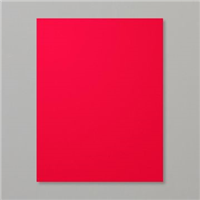
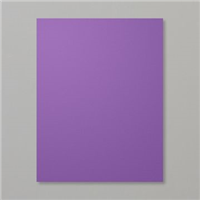
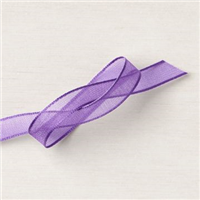
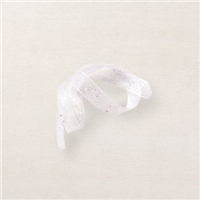
Below: Gorgeous Grape card base, with Simply Marbelous mat layer. I also used the White Glittered Organdy ribbon.


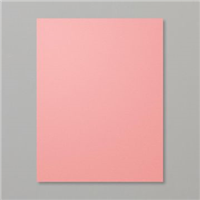
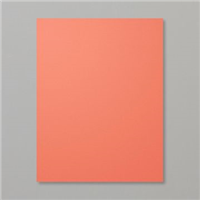
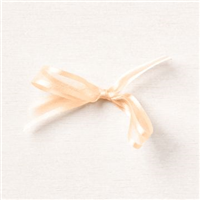
Above: thank you tulip card features the beautiful New Horizons DSP die cut tulips as well as a rectangle mat layer from the New Horizons DSP, too! I’ve layered it multiple times with Daffodil Delight, Calypso Coral and Flirty Flamingo cardstock to bring out all the pretty colors. The ribbon is Pale Papaya and the thank you is from the Flowering Tulips bundle stamped on a Tasteful Labels scalloped die!

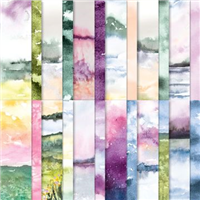
Above: check out the possibilities… oh my! The New Horizons paper is so perfect for these tulips!
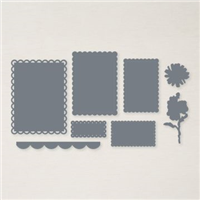
How to Layer the Tulips Dies pieces:

I am sure there are multiple ways to combine the die cut pieces to create the flowers, but the “cheat sheet” above will show you the pieces I used today.

I think I forgot to list it in the supply list at the bottom of this post, but the cute little Sweet Friend greeting is from the Mischievous Mice host set in the January – June catalog.

Seriously… isn’t this GORGEOUS!? The New Horizons paper is amazing!! I bet you could use it with several different floral dies!

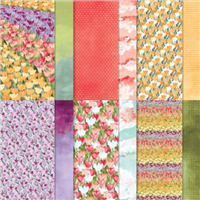
Above: this tulip card was layered onto a tulip background from the Flowering Fields 12×12 paper pack.
Don’t miss your opportunity to shop in my online Stampin’ Up! store – please click any of the product photos at the bottom of this post to shop online 24/7.

As I was creating these 5 tulip cards, I actually created the 5 pieces above first, then layered them onto the pieces of Designer Paper and card bases. I absolutely LOVE how they turned out!!

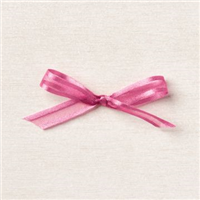
Below: a Basic White Note card is the base for my final card and I used a tag from the Tailor Made Tag dies. Iridescent Rhinestones and the Grape ribbon were the perfect final accents!

Watch the Tulip Card Video Tutorial
If you are reading this in an email feed, you may wish to watch the video on my blog post, or on my YouTube Channel.
Want to leave a comment? Please CLICK HERE.

Watch my helpful online ordering video HERE with tips for shopping online.


Want to leave a comment? Please CLICK HERE.

Shop Online Anytime and Earn FREE STAMPS
SHOP and SAVE: Last Chance List
Join my Luv 2 Stamp Team of demonstrators – click for info
All my Favorites on Amazon - as an Amazon Associate I earn from qualifying purchases.
Sign Up for my Customer Newsletter
MY FREE VIDEOS tutorials


Excellent tip on using the Marbleous DSP to cut out the tulips! Thanks for sharing!
Your cards are beautiful!
Thank you Karen!
Loved this and am going to try it with roses. I love your swatch page with dies … have printed it and put it in my new ‘swatch’ book. I’m going to try with other flower dies that I have, that I can bend and fold like this.
Thank you sooo much. I’m also a flower queen and keep a box of flowers on my desk and use them in cards and scrapbooking as well.
Thanks for all your hard work. I really do appreciate it.
Loved this and am going to try it with roses. I love your swatch page with dies … have printed it and put it in my new ‘swatch’ book. I’m going to try with other flower dies that I have, that I can bend and fold like this.
Thank you sooo much. I’m also a flower queen and keep a box of flowers on my desk and use them in cards and scrapbooking as well.
I really appreciate your classes.
How fun! So glad you enjoyed it so much!!
Thank you so much for demonstrating the use of the dies. You have a teaching gift!
Thank you for your kind comment, Mary!!
This was so helpful thanks so much I always enjoy your videos.
Thank you for watching!!
You are a gifted teacher. Your descriptions,patience and creativity make me want to watch all your videos. I was so intimidated by the tulips dies but you made it magical!
You are so kind.. thank you!! That makes it all worth it to go through the prep of doing videos 🙂
This was a wonderful post!! Your tips and explanations are so detailed and helpful. Thank you for this exceptional tutorial!
So very kind of you Fay! thank you!!
Great instructions, tips, and information! Love all your videos! They are always enjoyable!
So BEAUTIFUL!!!
Awesome tulips, great tutorial! Thanks Patty.