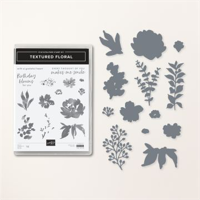
In addition to this “don’t miss the Gorgeous Garden dies” PSA in today’s post, also don’t miss the stamping tip below for successful stamping with the Distinktive style stamps from Stampin’ Up!, like these flowers in the Textured Floral set!!
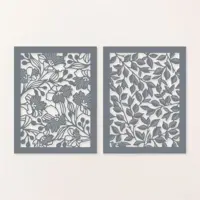
The moment I saw the Gorgeous Garden dies on page 164 in the new Stampin’ Up! catalog, I was guessing most of my customers and followers would miss them, too.. they are so easy to overlook.. so I ordered them immediately and started crafting with them! I hope you enjoy my card duo featuring the floral image from these dies today!
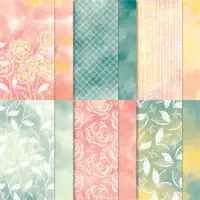
I created 2 different cards with the same background die die, both featuring the Hello, Irresistible designer paper and the Textured Floral stamp set. BELOW: I die cut the Gorgeous Garden floral background using Basic White Cardstock (TIP: use your die upside down!!), and overlayed it on Hello Irresistible printed paper.
Below: on the 2nd card, I tried the opposite… I die cut the Gorgeous Garden floral background die with the Hello Irresistible designer paper and overlayed it on Basic White cardstock.
I love BOTH results!
Unexpected Idea!
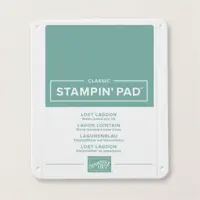
What do you think about this… I used Pool Party cardstock (yes!) and Lost Lagoon ink to die cut the leafy stems from the Textured Floral bundle. I randomly added Lost Lagoon ink with a Blending Brush, then did the die cutting.
Stamping TIP!!
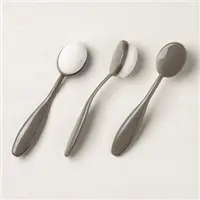
Ok friends.. I’ve shared this many times, but I still get questions about how to avoid the “clumpy” looking stamped image with a Distinktive stamp like Textured Floral. The secret is so easy.. I use a bone folder, and gently push the ink away from the center of the pad, then stamp your stamp in the center… look at the difference below after doing that. Aren’t those flowers gorgeous when you can see all the distinktive dots!!?
And YES, this is an old bone folder that I use for this purpose and when reinking my ink pads… it’s NOT the bone folder I used on my cards!
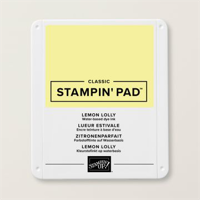
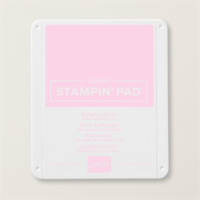
To create multicolored images like the flowers below: Ink your stamp in the lightest color (for instance, the Lemon Lolly or Bubble Bath), then add other colors of ink with a Blending Brush (direct to the rubber), then stamp on Basic White. Aren’t these images gorgeous!?
We’ll talk about the leafy background die from this Gorgeous Garden die set in tomorrow’s post, so stay tuned for that. But I just wanted to show you how amazing this set of dies is!!
Shop online: you can shop for all of these Stampin UP! products in my online store by clicking the product images at the bottom of the post. I truly appreciate you and reward you with $40 in free merchandise of your choice when your Free Stamps with Patty form is full!
Oh, I found that using a few drops of Multipurpose Liquid glue on the floral die cut image and around the perimeter worked GREAT for adhering it to the background.
I love to read your comments! To leave a comment Please CLICK HERE.
Want to leave a comment? Please CLICK HERE.
Shop Online Anytime and Earn FREE STAMPS
SHOP and SAVE: Last Chance List
Join my Luv 2 Stamp Team of demonstrators – click for info
All my Favorites on Amazon - as an Amazon Associate I earn from qualifying purchases.
Sign Up for my Customer Newsletter
MY FREE VIDEOS tutorials






Beautiful creations Patty. Thanks for sharing all the tips and tricks as well. 😍
These dues caught my eye right away too Patty. But, I have to wait. There are so many things that need to be updated with all the new colours! I’m trying to be patient, but it is a challenge! Thanks for sharing! I appreciate you knowledge and your skills!
Awhile ago (months…years..?) you shared a trick for using the Tombow glue in the fine line glue bottle. What portion was water? Do you still suggest doing it?
I’ve been following your blog for years. Your presentations are awesome! Have fun on your vacation too!
Hi Jan, I never added water, but I mixed half Multipurpose glue (tombow, green bottle) with the Fine Tip glue in the Fine tip glue applicator and that seems to be a good solution.