Remember when I shared this 3 in 1 card idea with you HERE featuring the new All About Autumn designer paper?
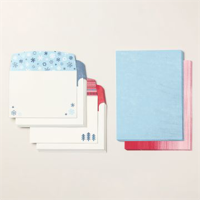
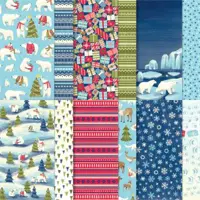
Well, I got to thinking.. what about cutting the designer paper to 4×6 instead, and using the Beary Christmas Memories & More cards and envelopes pack! I tried it out and love it!!
So, by simply adapting the base card size and the size of the designer paper rectangle, you can make all sorts of Christmas card sizes!! This one is particularly great if you include a 4×6 photo in your Christmas Card!
New to this 3 in 1 card design? Follow the instructions, measurements and video in THIS POST!
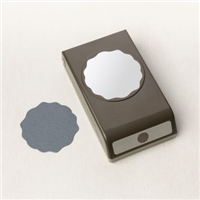
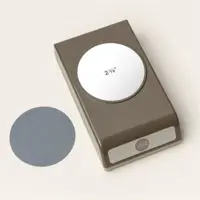
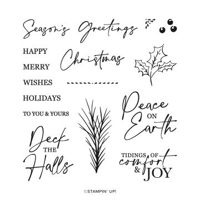
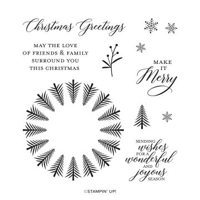
The stamp sets I used on my Decorative Circle punch are both new! They are found in the Classic Christmas set and the Wishes all Around set.
Christmas Card Supplies available online!
- Shop for all of these supplies by clicking the product photos at the bottom of this post!
- Fun new papercrafting products like the Beary Christmas Designer paper and Card & Envelope pack available while supplies last in the new Stampin’ Up! Holiday catalog!
I enjoyed creating 2 different color schemes, by using both the blue card bases and the red card bases in this Memories & More card and envelope pack, paired with 3 different patterns from the Beary Christmas designer paper pack.
I love to read your comments! To leave a comment Please CLICK HERE.
Want to leave a comment? Please CLICK HERE.
Shop Online Anytime and Earn FREE STAMPS
SHOP and SAVE: Last Chance List
Join my Luv 2 Stamp Team of demonstrators – click for info
All my Favorites on Amazon - as an Amazon Associate I earn from qualifying purchases.
Sign Up for my Customer Newsletter
MY FREE VIDEOS tutorials








Hello Patty, I love the last card …… a lovely card!!!! real Christmas card! Thank you so much.
So glad you enjoyed it!
This technique is so versatile and using the cards/envelopes is the perfect touch! These cards are really pretty. Thanks for sharing.
Thank you, so happy you enjoyed it!!
I am a bit confused. If you are starting with 4 x 6 paper to make a card you can put a 4 x 6 photo in, the finished card won’t fit in our A2 envelopes.
This technique is called Stack, Cut, and Shuffle. Google Stack Cut Shuffle and you will find lots of examples. You need as many designs of DSP as the number of pieces you will cut out of each DSP. You can cut however you wish. 4 pieces out of each DSP sheet means you will need 4 patterns of DSP. I’m not a mass producer of cards but I have had fun with this one:)
You’ll notice the description of the Memories & More cards/envelopes I’m using in today’s post are larger than 4×6. The envelope holds these larger cards and a 4×6 photo.
These are not meant to go in an A2 envelope.. I’m using the envelopes in the package noted above.
I am not a mass producer of the same design either but I can’t wait to try this out. I have the M&M pack of cards and envelopes and looking forward to trying this out. I also just received the autumn pack of paper so I can try some of those too. This looks like a fun rainy day project for me. Thanks Patty for all your inspiration.
Hope you enjoy trying this design!!
Thanks so much for sharing this! Perfect timing as I just got an order in a few days ago only to discover instead of ordering 2 packs of medium envelopes, I ordered 2 packs of the memory and more cards and envelopes!
Glad you will enjoy the idea!! Here is another recent idea I shared for using the 4×6 M&M cards/envelopes https://www.pattystamps.com/2023/07/one-horse-open-sleigh-card-video.html
Hello! I love this idea. I watched your autumn leaves video to follow along. Do you change where you cut your DSP due to these cards being larger? Thank you for the inspiration!
No I didn’t change anything except the overall size. I think you can see that in the demo video. Hope that helps?