Wow my friends.. I’m so super excited to share this background technique with you!! I’ve heard of baby wipe and reinker techniques, I’ve heard of watercolor background techniques, but had never combined the 2 to create gorgeous and super easy and colorful backgrounds!!! I saw this demonstrated by Natalie White (from Stampin’ UP!) in a demonstrator only Facebook group last week and literally ran up the stairs to my stamping studio to try it out!!
Watch the video!
I’ve included a free video at the bottom of this post so you can see how easy these are to create!!
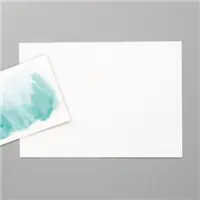
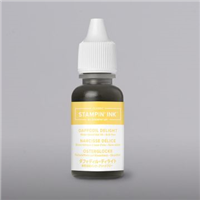
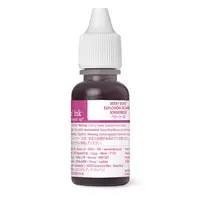
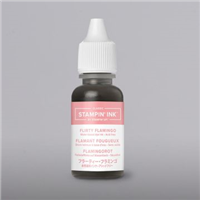
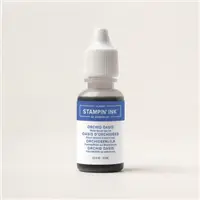
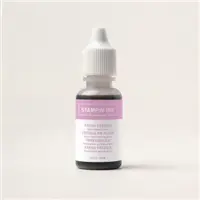
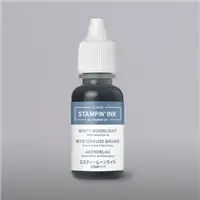
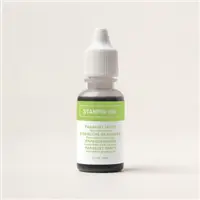
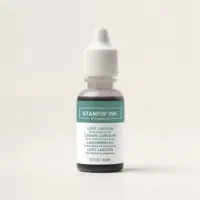
Baby Wipes, reinkers and Watercolor paper…. and imagination!! 🙂 Not sure where to start? Try out some of my suggested color combos below!
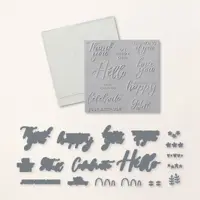
Each of my cards features a greeting from the Thoughtful Moments Hybrid embossing folder bundle – see instructions for using it in my video below. I tried to keep these cards really simple to show off the background. Thank you Natalie for the inspiration!
All supplies you’ll need are shown in the video and listed at the bottom of this post. To purchase Stampin’ Up! supplies, click any of the product photos at the bottom of this post.
THANK YOU for your orders!
My suggestion is to create 3 at once… .watch the video to see why I suggest that.
I cut all my Watercolor paper sheets in half to create these cards, then layered them onto a coordinating colored cardstock mat before adding them to my base card.
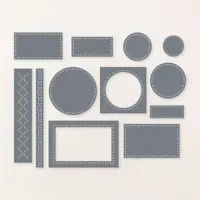
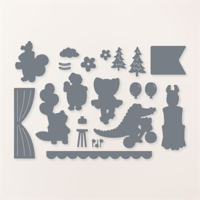
That cute little scallop is found in the Zany Zoo dies. I thought it looked really cute with the dots in the Everyday Details dies.
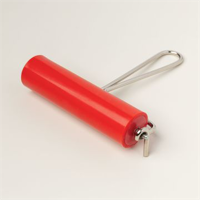
As shown in the video, I tried out the Thoughtful Moments hybrid embossing folder greetings on Flight and Airy designer paper (a Sale-a-Bration gift item). You can also use it on cardstock. I used the new brayer to add ink to the raised/embossed portion of the words.
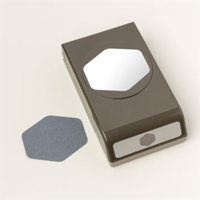
I was trying to be really creative with this one.. and decided to “sacrifice” one background by using my Heartfelt Hexagon punch and punching out shapes to overlap behind the greeting. Just something a little different!
One thing I love to do on regular watercolor backgrounds is to splatter some water on them.. as it dries it makes fun spots and adds interest and texture. I tried it with the blue/green backgrounds and love them! You can also splatter Wink of Stella or markers.
Included in the video below…
Learn how to use the brayer and Stampin’ Up! Thoughtful Moments Hybrid embossing folder to make awesome die cut greeting in any color!
QUESTION!?
Which color combo will you try first?
Free Watercolor Background Video:
If you are reading this in an email, please watch the video on my blog or on my YouTube Channel.
Want to leave a comment? Please CLICK HERE.
Watch my helpful online ordering video HERE with tips for shopping online.
Want to leave a comment? Please CLICK HERE.
Shop Online Anytime and Earn FREE STAMPS
SHOP and SAVE: Last Chance List
Join my Luv 2 Stamp Team of demonstrators – click for info
All my Favorites on Amazon - as an Amazon Associate I earn from qualifying purchases.
Sign Up for my Customer Newsletter
MY FREE VIDEOS tutorials









Patti, Thank you for the very detailed video. It’s so nice to be able to see the process and hear your tips and tricks. I do prefer your videos that don’t have the viewers chit chatting, unfortunately I find that part distracting from the presentation. Of course that’s just me. Thank you for taking the time to share your vast knowledge.
Thank you so much! so happy you enjoyed it!!
These are gorgeous! Your step by step instructions in combination with your thought process are incredibly helpful. I might be brave enough to try this now. 😁
So kind of you.. thank you!! So glad you liked it!
Love this new way to color card stock.
Thanks! I’m not sure how well it will do on cardstock, but definitely works great on this Stampin’ Up! watercolor paper!!
Thank you for demonstrating coloring the words! I’m going to try this.
Very informative video. I agree the end result is simply amazing. Bright! Love 💕 the technique. The hybrid inking was a perfect video too. Definitely a two for one.
Great tips for showing us how to make water color background paper.
Tips on using embossing folder and die. What plates on your embossing machine did you use to run through since you had a different thickness due to using Embossing folder, die and paper??
I use the sandwich recommended on the base plate for 3D embossing folders.
Base plate, paper & die in folder, and specialty plate on top. https://www.stampinup.com/products/specialty-plate?demoid=2274
Patty this is amazing!!! What a game changer for me as I have problems with the blending brushes – they hurt my hand after awhile. I’m going to try with just the pads of ink because I do not have colored re-inkers. Wondering if that will work??? Off to my craft room I go!!
I love the technique of braying the cutouts instead of the folder! Thank you so much!
You are a genius!!!! THANK YOU. I’ve been struggling to achieve these results.
OMG, thank you so much for this video! Love the watercolor paper/baby wipe technique. I really have to try that. I was most excited about how you added color to the die cuts with the brayer. I have been trying it with mixed results, but I was doing it one at a time. I’ll have to try it out your way. Plus, do you think the newer brayer works better than the old rubber one Stampin’ Up! used to sell? TFS.
So glad you enjoyed the tips!
I like the new brayer for adding ink to the images like I did in this video.. but I think it’s not as good for brayering backgrounds. I like the softer rubber for that.