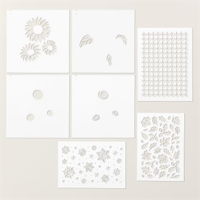
Need a quick and easy way to make a pretty background? Try this!! use the Stampin’ Up! Abundant Beauty masks (yes, I call them stencils), a blending brush and ink, and create a pretty snowflake background for your holiday card!!
Step 1: Use Any color blue ink you wish, and add some color randomly to your white background with a blending brush.
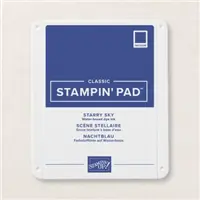
Step 2: use the Abundant Beauty Mask, a blending brush and Starry Sky ink (or color of your choice) and add layers of darker and lighter snowflakes to the background.
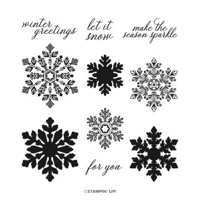
NOTE: if you don’t have a snowflake mask, you can use any snowflake stamp set like the Sparkling Snowflakes.
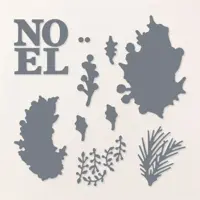
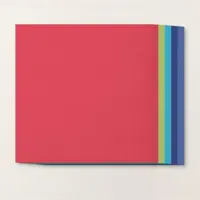
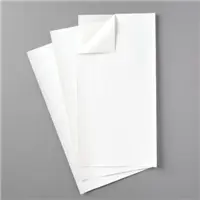
Step 3: add adhesive sheets to the back of the Starry Sky Textured paper, and die cut NOEL 2 times from the Joy of Noel dies. Peel off the backing and layer the 2 sets of letters together before adding them to your card for extra dimension.
Step 4: I like to use a T Square straight edge or ruler to make sure my letters are lined up straight.
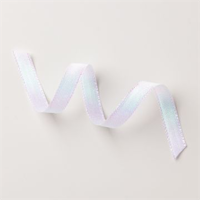
Step 5: Layer the white layer to a Starry Sky Textured paper layer, tie the White Iridescent ribbon around the 2 layers, and onto a thick Basic White card base.
See PDF tutorial below for all measurements.
I love to read your comments! To leave a comment Please CLICK HERE.
Want to leave a comment? Please CLICK HERE.
Shop Online Anytime and Earn FREE STAMPS
SHOP and SAVE: Last Chance List
Join my Luv 2 Stamp Team of demonstrators – click for info
All my Favorites on Amazon - as an Amazon Associate I earn from qualifying purchases.
Sign Up for my Customer Newsletter
MY FREE VIDEOS tutorials





beautiful, simple, and with a kick. great idea for mass producing. thank you, as always, for sharing