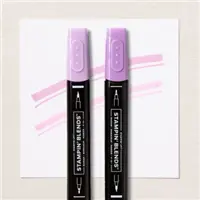
This is a fun technique that I forget about doing, but I love it every time I try it… coloring an embossed cardstock image with Stampin’ Blends markers!!
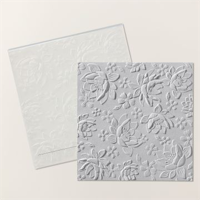
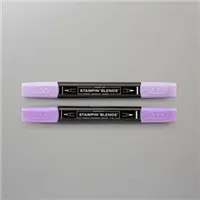
I learned this technique from Kurstan back in 2018, using the Country Floral embossing folder and white cardstock. I’ve done it a few times since, but don’t remember trying it on colored cardstock. This is one of the new In Colors: Petunia Pop. It’s embossed with the Layered Florals 3D embossing folder, then colored with the Stampin’ Blends markers listed above.
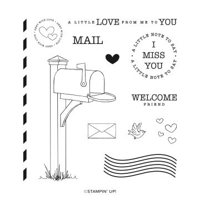
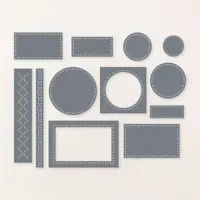
The fun round greeting is from the Sending Love stamp set and I used die cuts from the Everyday Details dies and the new (coming 5/1) Spotlight on Nature dies. Petunia Pop ribbon and some splattered Wink of Stella finish off this card!
You can try this fun technique with ANY embossing folder and ANY color cardstock and ANY color Stampin’ Blends you have. The 3D embossing folders are probably easier to color than the regular folders, but I encourage you to try this fun idea!
Want to leave a comment? Please CLICK HERE.
Watch my helpful online ordering video HERE with tips for shopping online.
REMINDER: new products coming on 5/1 are not listed here, such as Petunia Pop cardstock, ink and blends, and the Spotlight on Nature dies.
Want to leave a comment? Please CLICK HERE.
Shop Online Anytime and Earn FREE STAMPS
SHOP and SAVE: Last Chance List
Join my Luv 2 Stamp Team of demonstrators – click for info
All my Favorites on Amazon - as an Amazon Associate I earn from qualifying purchases.
Sign Up for my Customer Newsletter
MY FREE VIDEOS tutorials








This technique makes the paper look so pretty! It really expands the possibilities with the embossing folder. Is there a trick to making sure you only color the raised part of the design, or is “slow and steady” the way yo go?
Like I mentioned.. it’s probably easier with the 3D folders.. but really there is no trick.. just color on the raised portion… use a light hand and it doesn’t go “outside the lines” so to speak. Give it a try.. I think you’ll like it!
Hello Patty, I never did it! But now I will try it. Thank you so much