

If you don’t feel like ink blending a background, or watercoloring a background, might I suggest the AMAZING printed backgrounds from the Stampin’ Up! Full of Life patterned paper pack!? WOW!!
All I did was cut a 4″ x 5-1/4″ piece and emboss it with the So Swirly embossing folder to create this great card background!

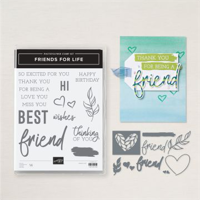
After cutting the card front piece (see below) I used the extra strip to die cut the word FRIEND. If you love the 3D popped up look, be sure to add the Foam Adhesive sheet behind the DSP first, then die cut. That’s what I did.
I die cut the “skinny friend” (LOL) with white cardstock (put adhesive sheet behind that first – NOT the foam one), and then layer the 2 friend die cuts together.

Using a white Stylish Shapes circle die and a Summer Splash Spotlight on Nature die, I created the perfect background for the friend die cut.
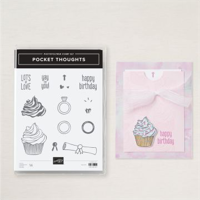
If you don’t own the Attention Shoppers bundle (the cake stamp below), try any birthday image you have to complete this card.

Want to leave a comment? Please CLICK HERE.

Watch my helpful online ordering video HERE with tips for shopping online.


Want to leave a comment? Please CLICK HERE.

Shop Online Anytime and Earn FREE STAMPS
SHOP and SAVE: Last Chance List
Join my Luv 2 Stamp Team of demonstrators – click for info
All my Favorites on Amazon - as an Amazon Associate I earn from qualifying purchases.
Sign Up for my Customer Newsletter
MY FREE VIDEOS tutorials


Pretty cards! They look much more complicated than they actually are. Thanks for the tip about the foam and adhesive sheets. I didn’t realize that the die would cut the foam so easily.
So glad you enjoyed that tip.. I’ve shown it several times on my videos and I just love die cuts raised on foam sheets!!