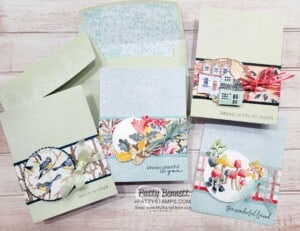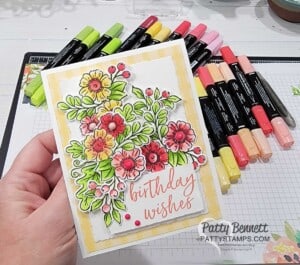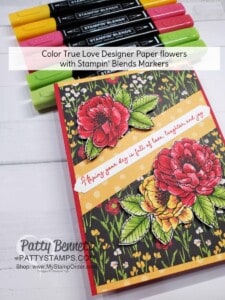
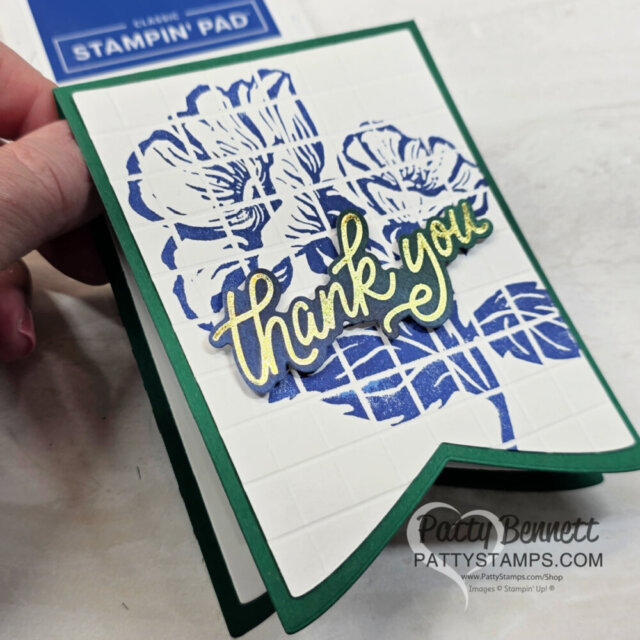
I’m thrilled that you all enjoyed the previous Faux Tile Cards I created and shared over the last month. If you missed them, I’ll share links below in this post.
I wanted to try out a couple different things for this set of faux tile cards:
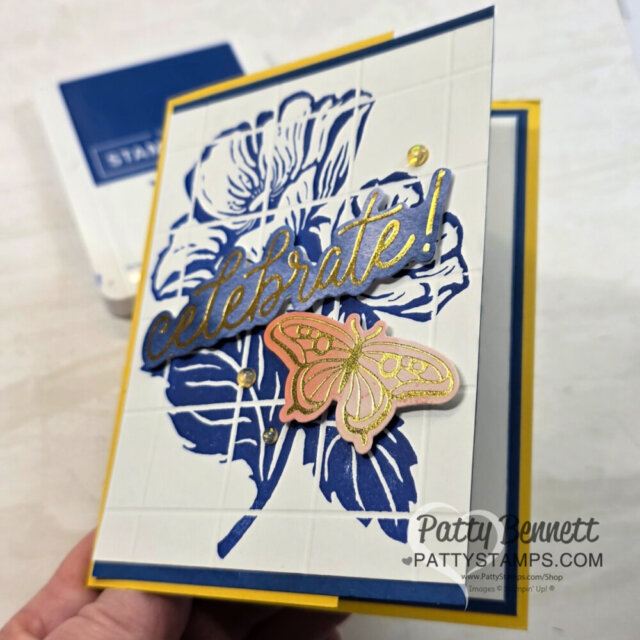
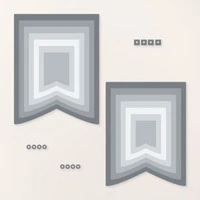
- Use the Stampin’ Up! Party Banner dies as a card base to create a banner card
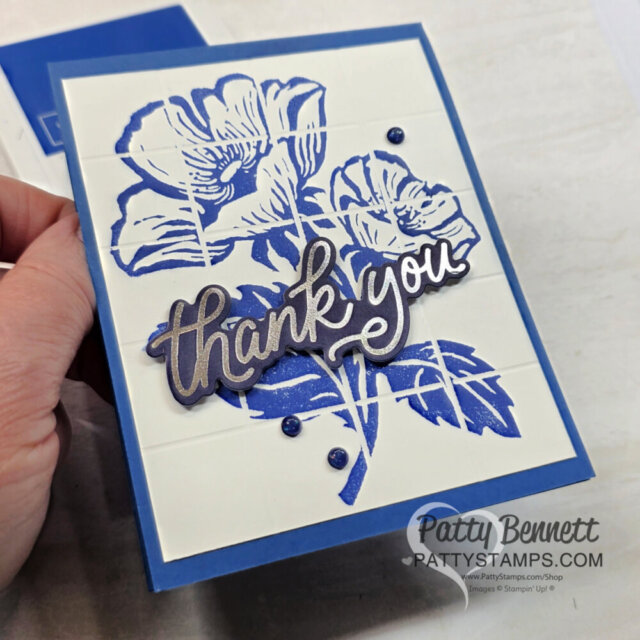
- Score at 1/2″ instead of 1″ for a different look
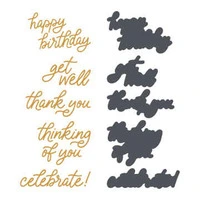
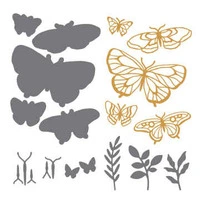
- Add Foiled Classic Greetings & butterflies to elevate the Inked Floret faux tile cards
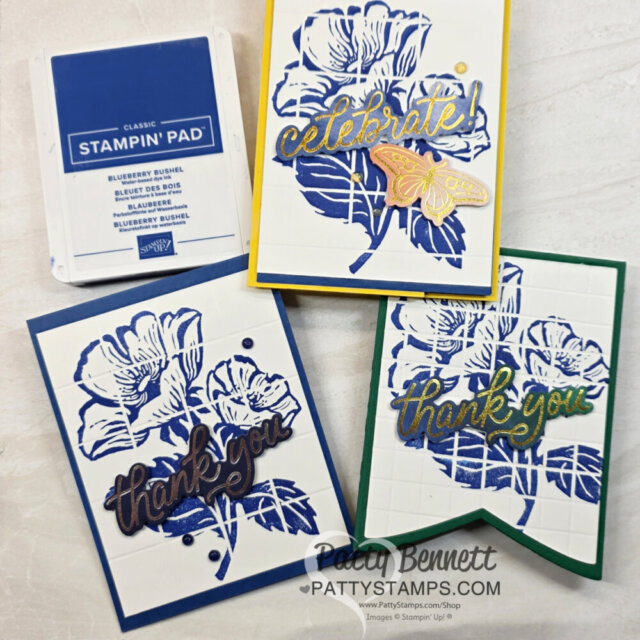
I don’t think there is a right or wrong way to create the tile background. Do you have a preference between the smaller or larger “tiles”?
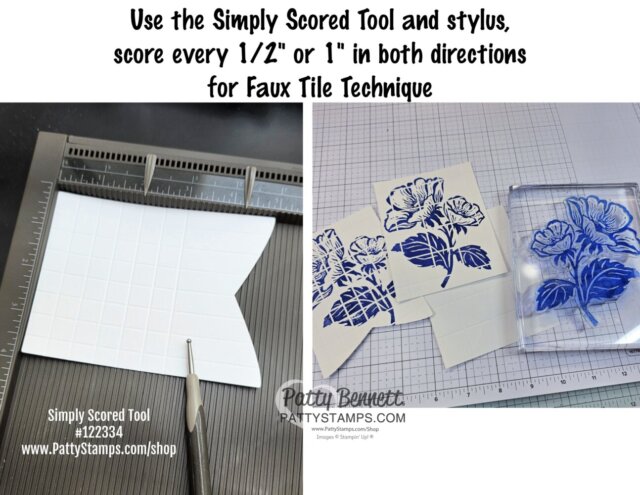
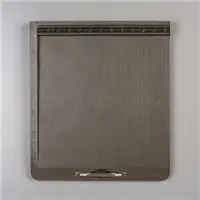
After posting my previous tile cards, several of you asked about using the scoring blade on your trimmer to create the tile grid. From what I found, the Simply Scored Tool creates a deeper and slightly wider depression which seems to work best for this technique. I used the wider of the 2 ends of the scoring stylus.
When you die cut the banner card base, use a 4-1/4″ x 11″ piece of cardstock. Score it at 5-1/2″, fold it, and place the fold just beyond the horizontal top cut of the banner die so that it doesn’t cut the top fold.
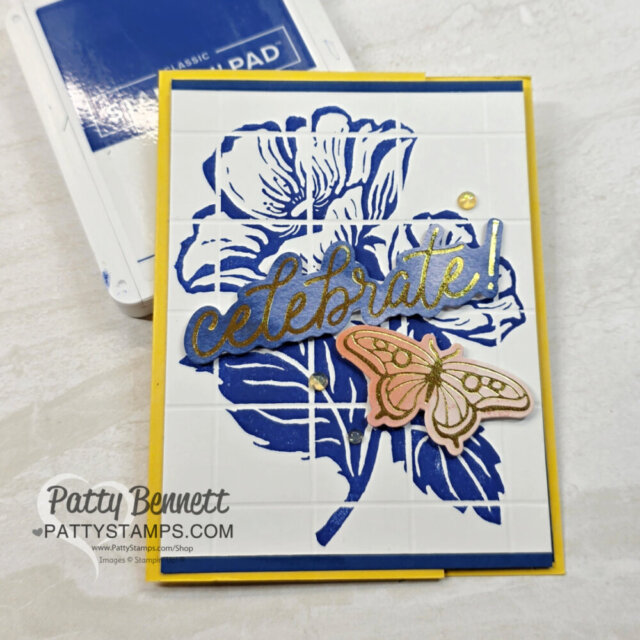
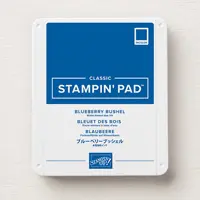
What do you think about adding the foiled greetings and butterflies? I just love the gold foil with the Blueberry Bushel Inked Floret image!
Below, I used the silver foil on the Classic Greeting foil die and love that combo, too!
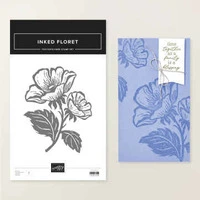
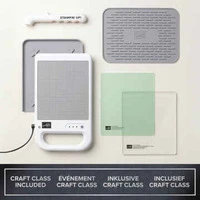
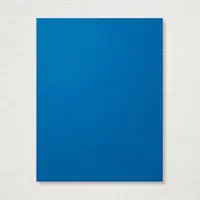
Faux Tile Banner Card Supplies:




Want to leave a comment? Please CLICK HERE.

Shop Online Anytime and Earn FREE STAMPS
SHOP and SAVE: Last Chance List
Join my Luv 2 Stamp Team of demonstrators – click for info
All my Favorites on Amazon - as an Amazon Associate I earn from qualifying purchases.
Sign Up for my Customer Newsletter
MY FREE VIDEOS tutorials